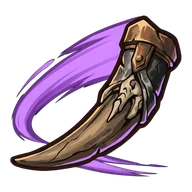
Lunge Fang
Torn from the Pack hunter
Lunge along your aim, tearing through everything you pass.
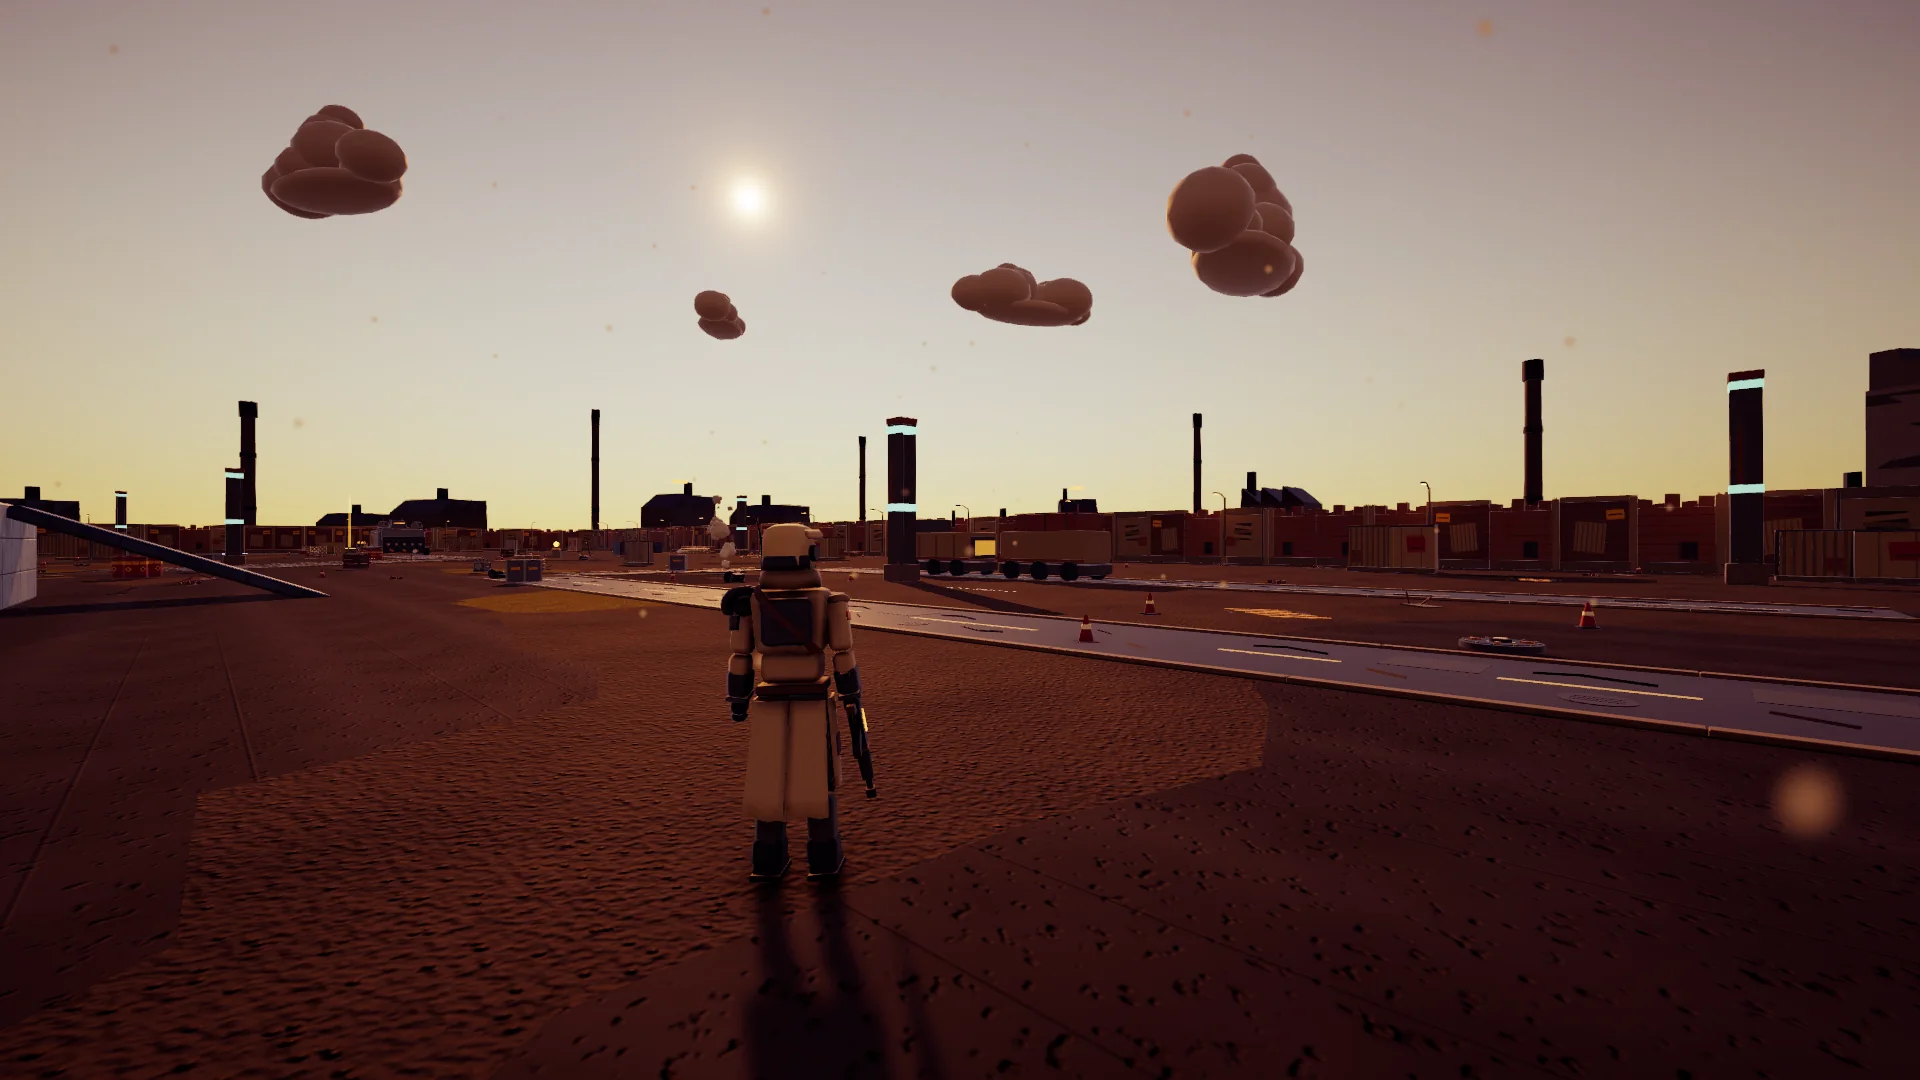
Operation brief · Flagship · In development
Raid regions held by living war machines. Tear the strongest power out of an elite and make it yours. Every region you leave behind changes the fight at the throne.
Still in development. Third-person action roguelite · PC · Play solo or in a squad of four; twelve-player raids and a shared online camp are in testing. Every screenshot and clip here is from the game in development.
Footage straight from the game: every region, boss and fight below is the real thing, played in the game as it stands today.
Gameplay Highlights
Official Trailer
Gameplay Trailer
Switch between a realistic look and a cel-shaded, ink-lined one at any time in Settings. Regions run from day to night through rain, snow, storms and fog.
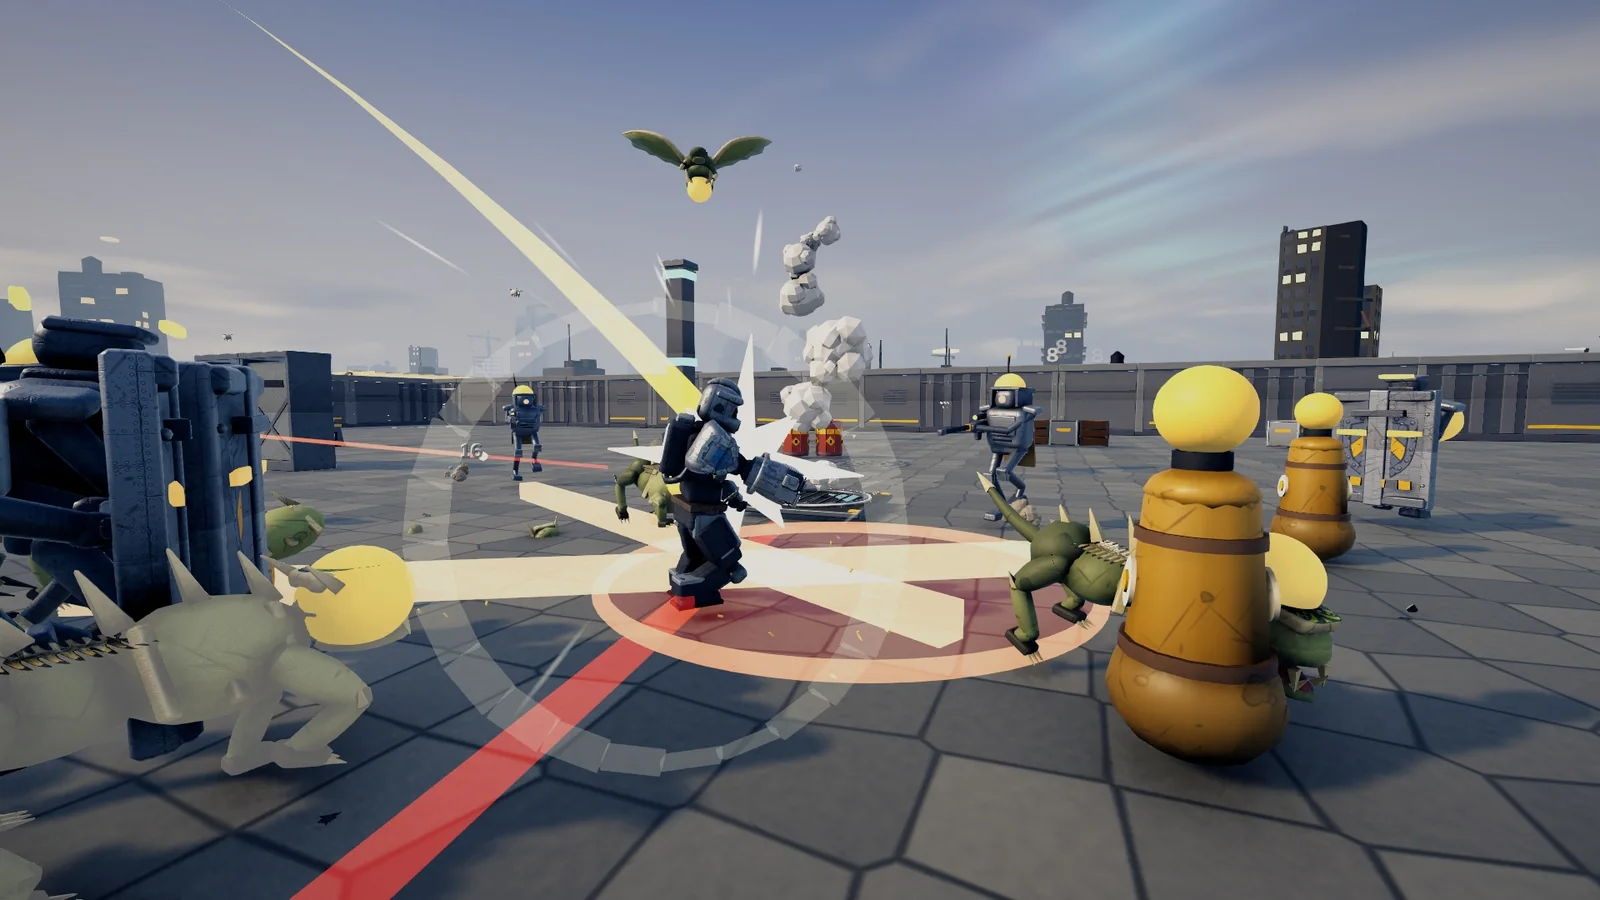
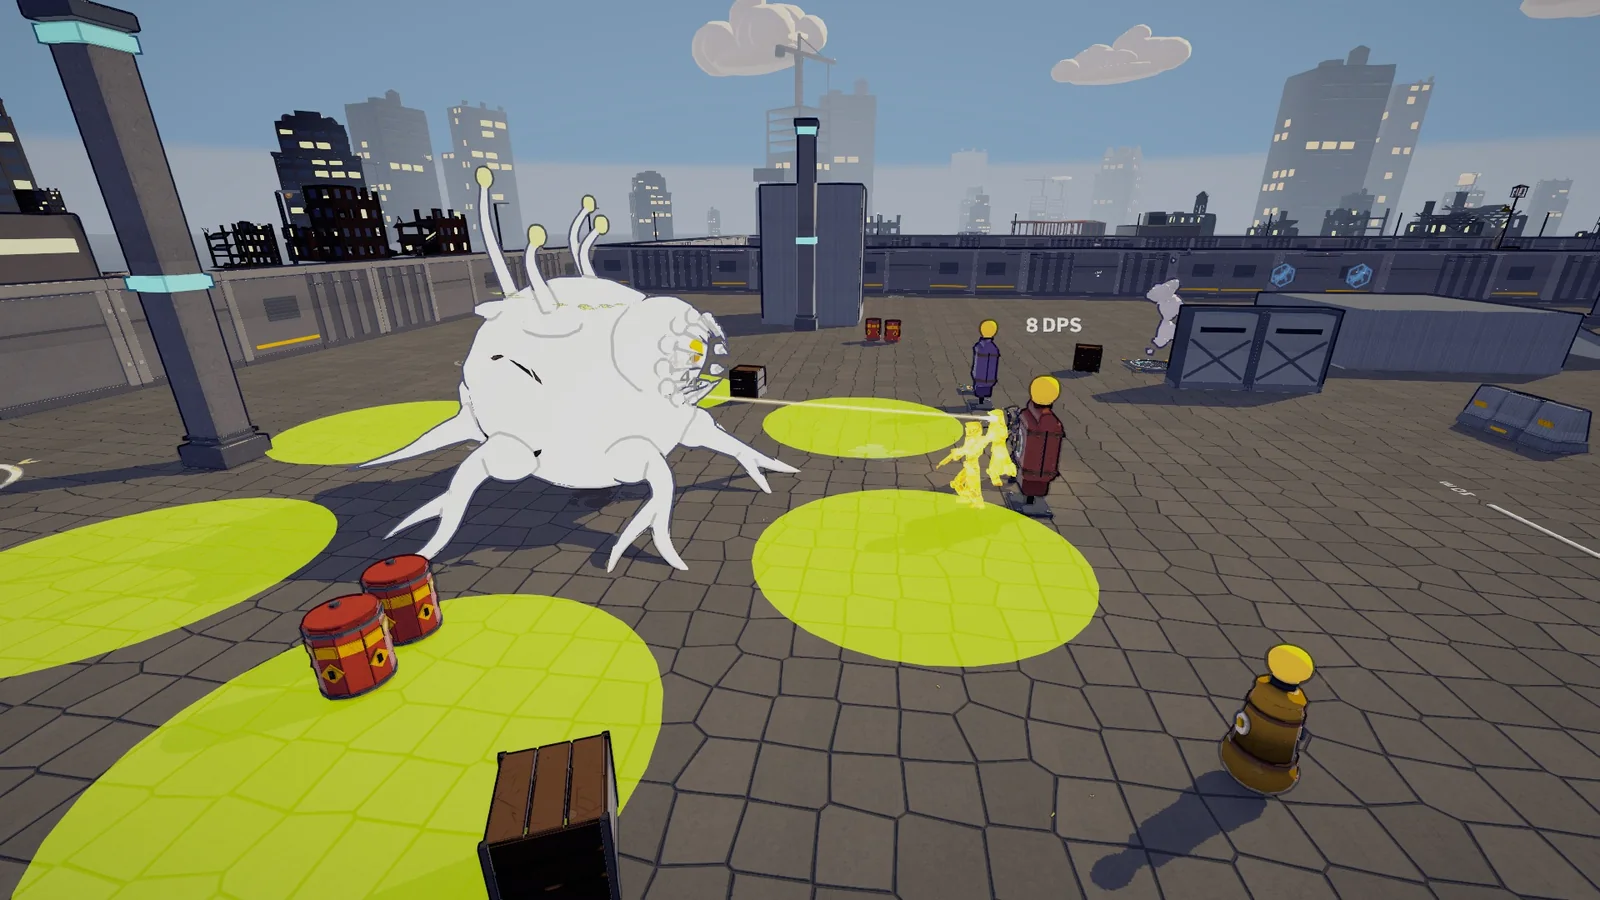
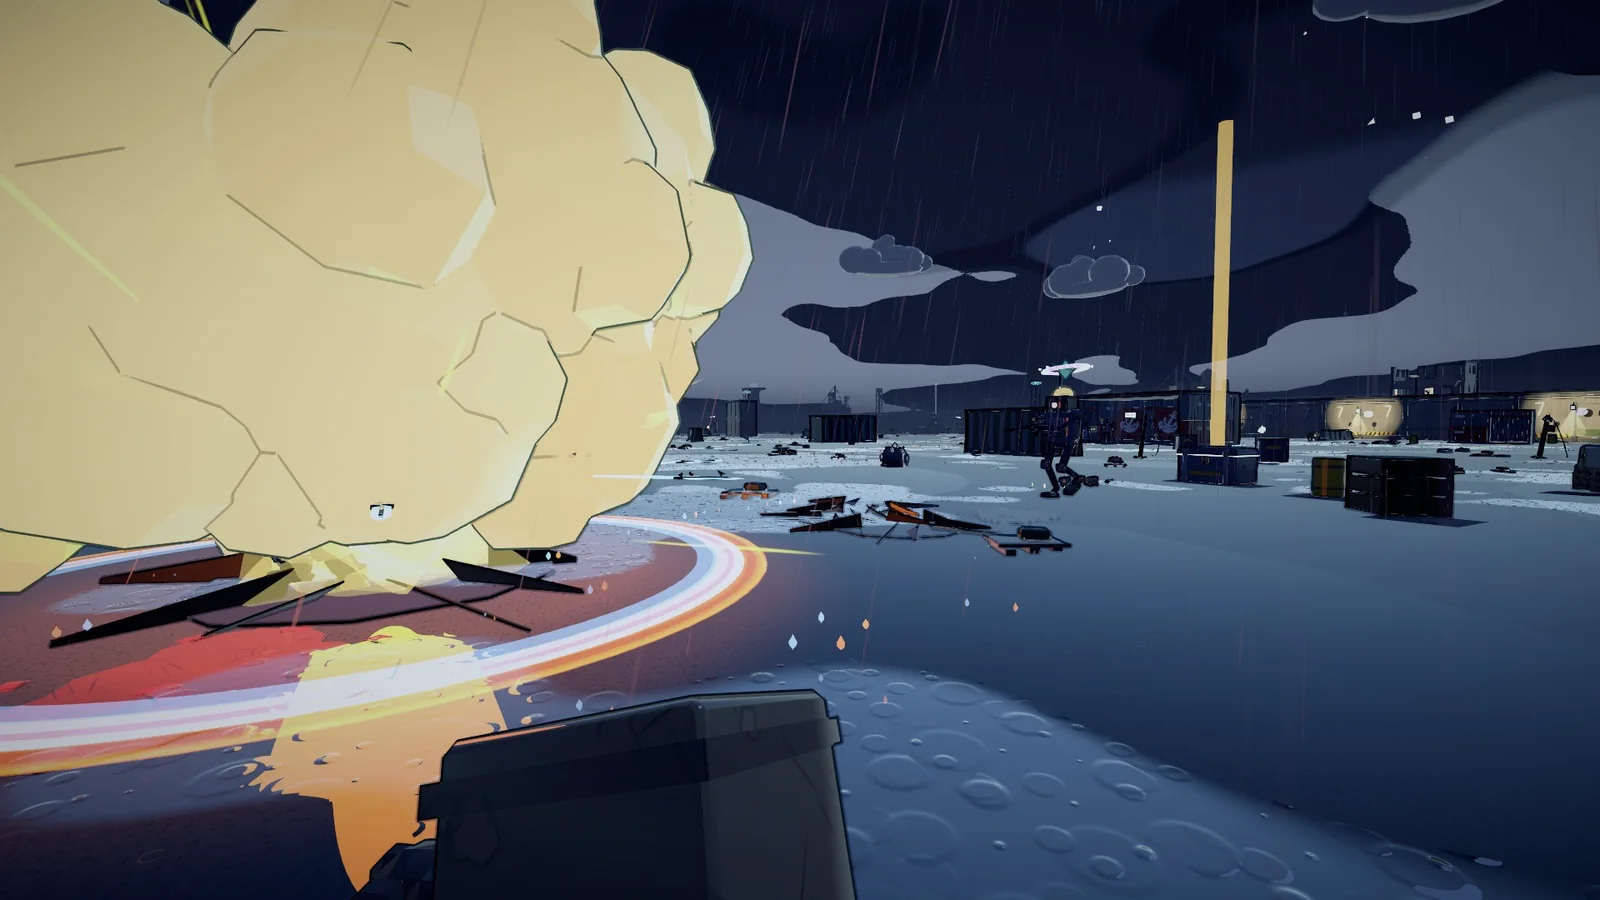
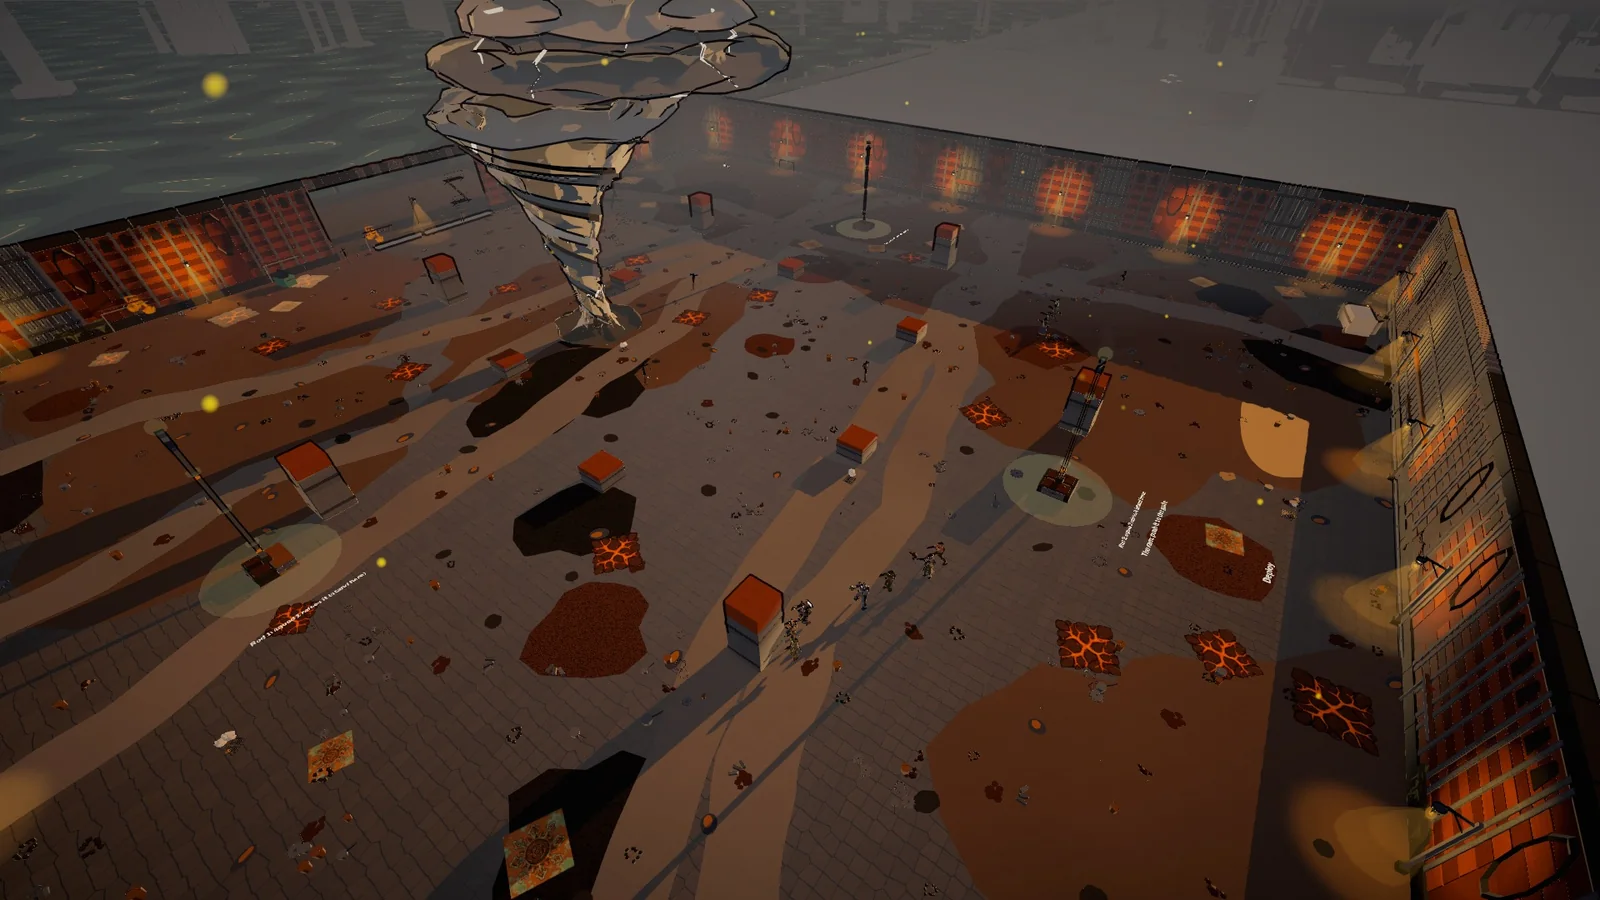
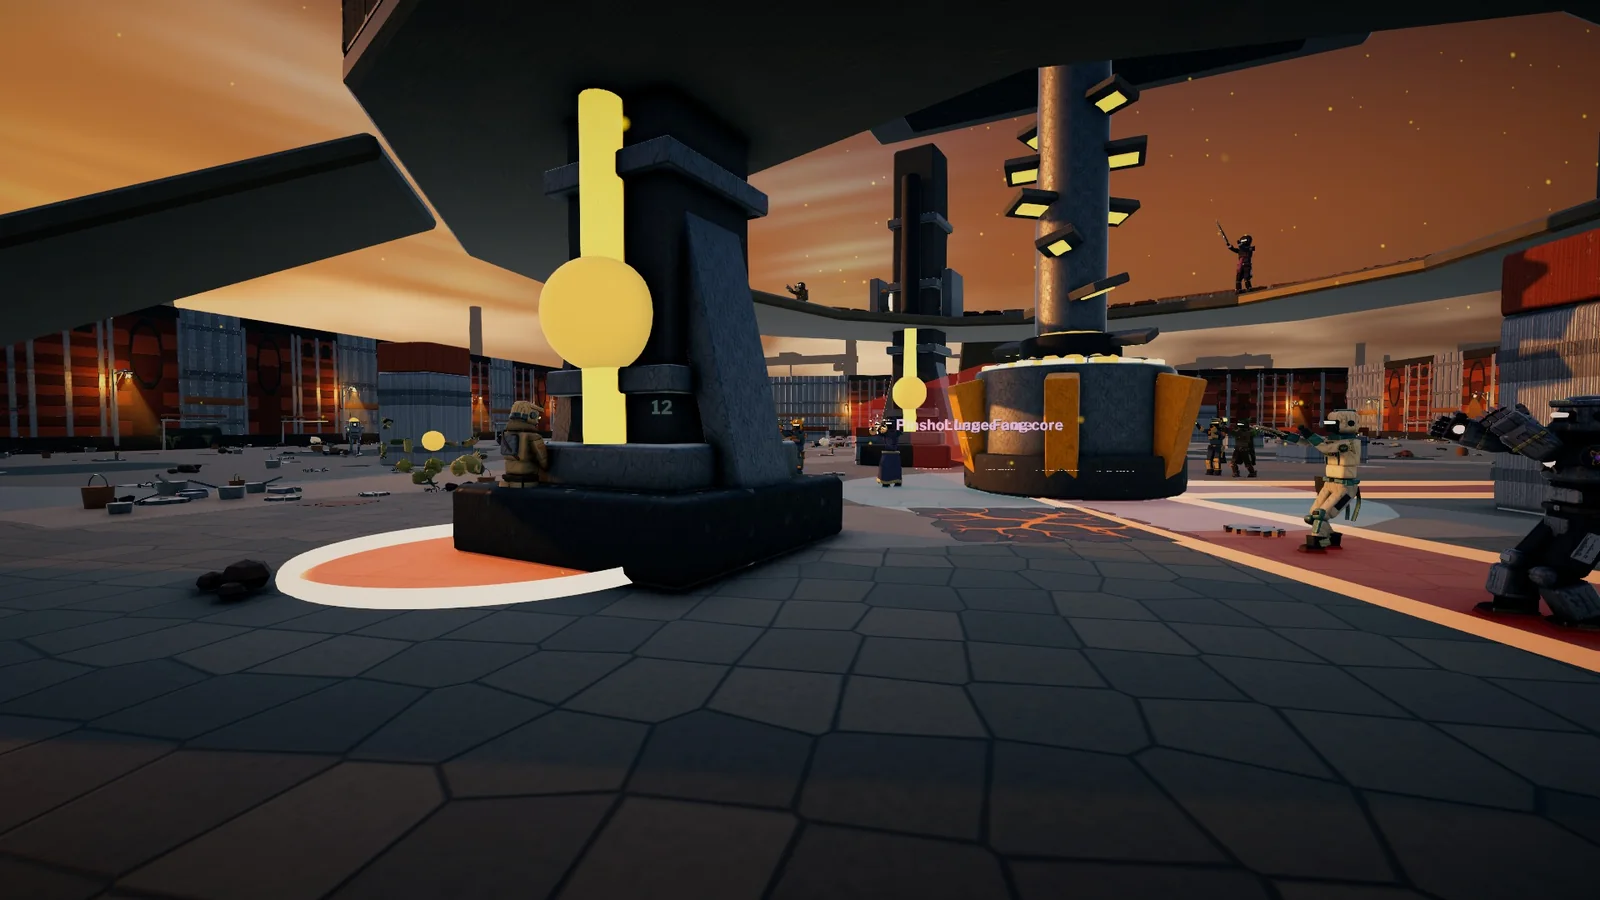
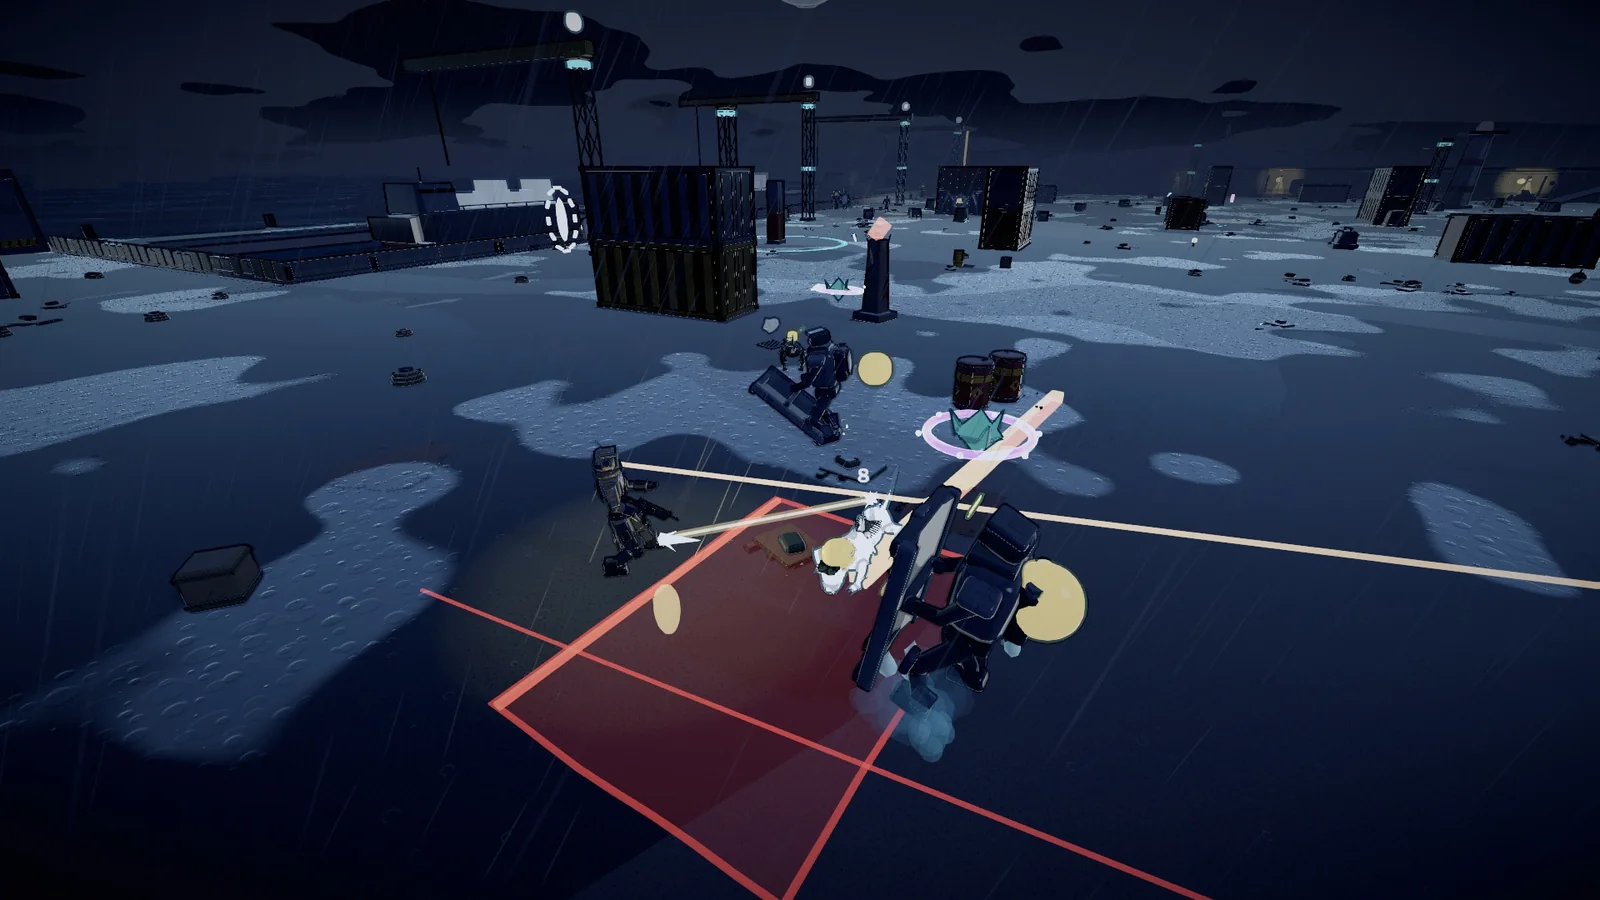
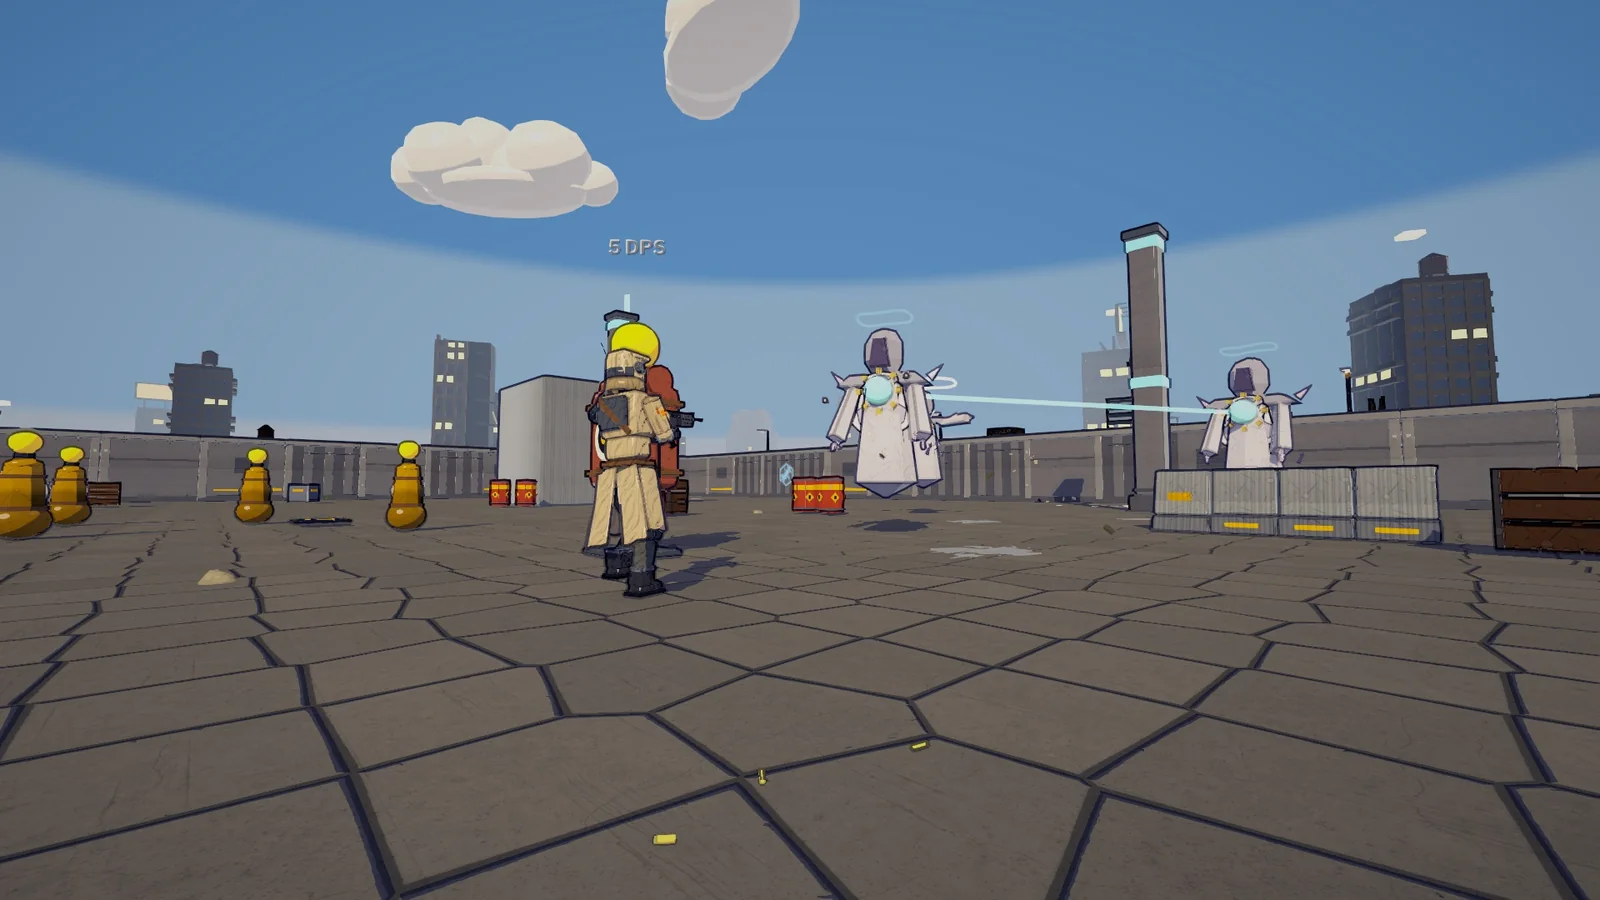
Elites carry an exposed core. Tether it out and the power inside is yours: a graft that any Reclaimer can carry. Every elite carries one, and every boss drops its own when it falls. 55 to steal. Here are four.
Torn from the Pack hunter
Lunge along your aim, tearing through everything you pass.
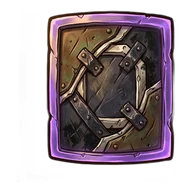
Torn from the Shield bearer
Raise a stolen shield that blocks everything from the front. Release it (or let it drop) to send a shockwave; every blocked hit makes it stronger. A block counts as a well-timed guard.
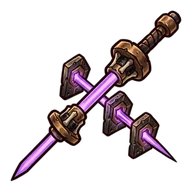
Torn from the Pinshot marksman
A short charge, then a lance that pierces every enemy on the line. Weak points take extra.
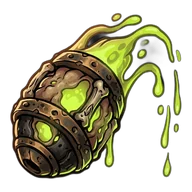
Torn from the Spore lobber
Lob a spore sac at the crosshair. It splashes on landing and leaves a pool that eats at enemies.
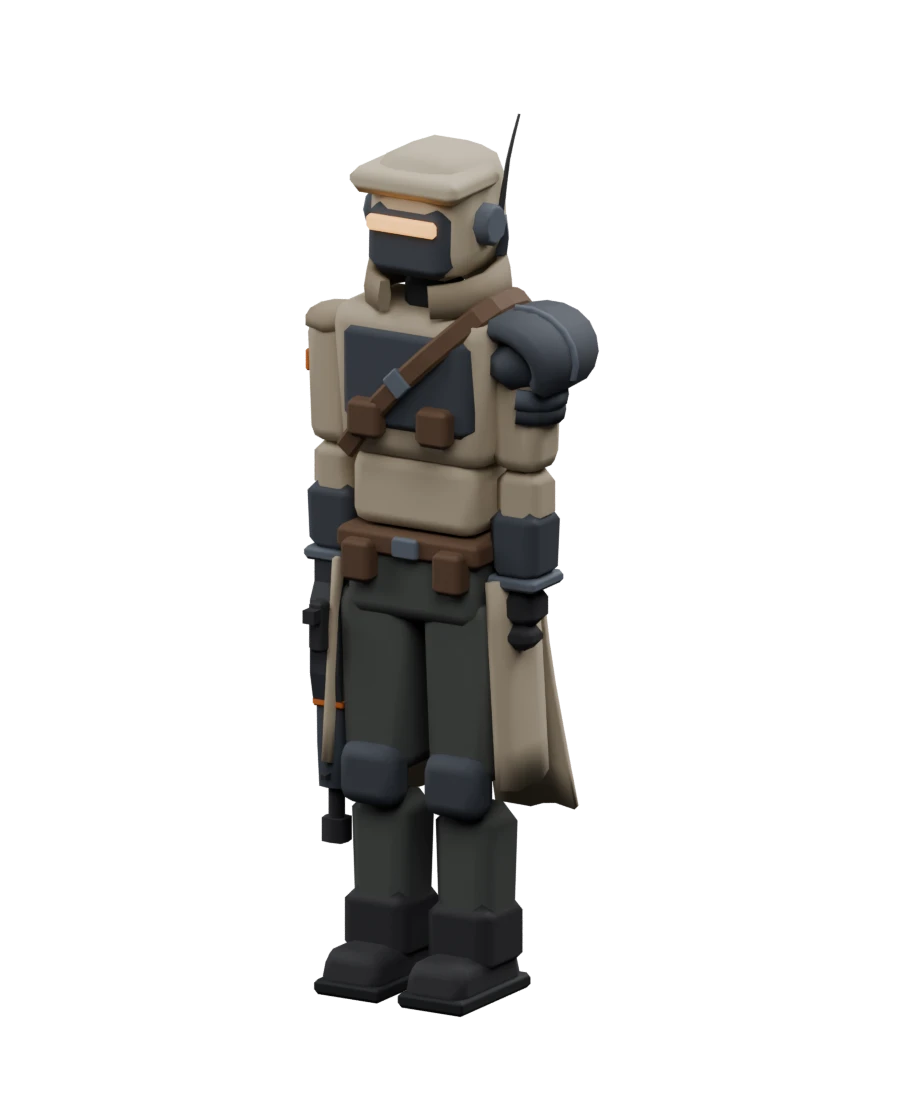
Thirteen Reclaimers, each with their own weapon, tools, and way of moving. Rook and Bastion start unlocked; the rest are earned.
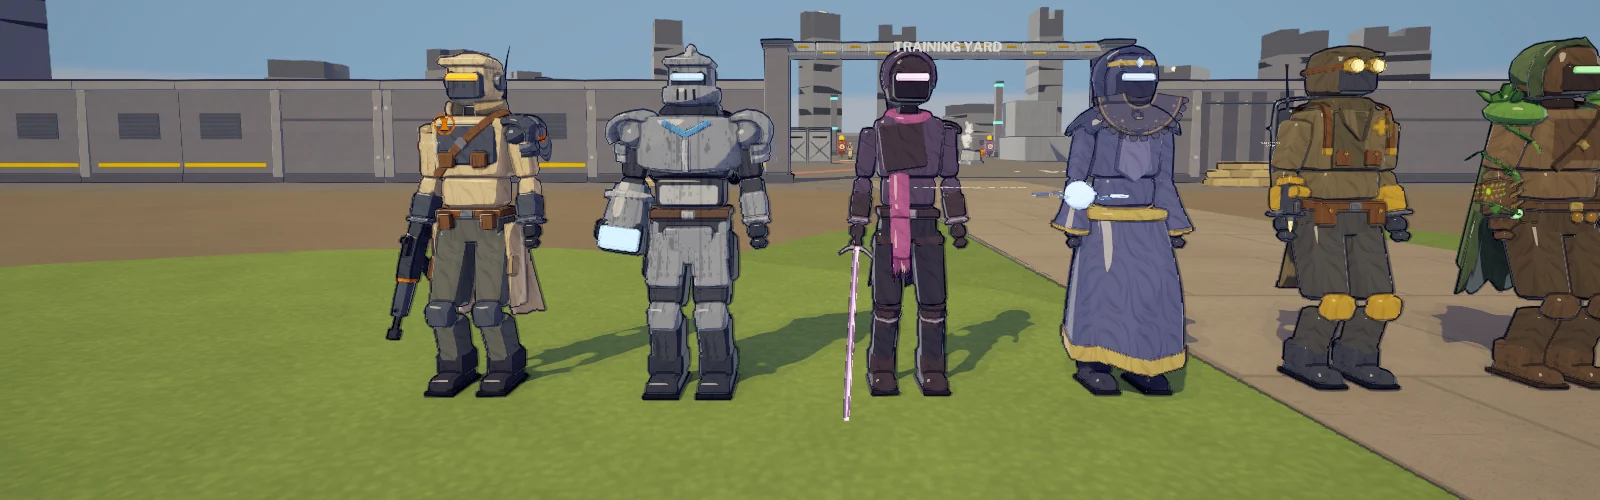
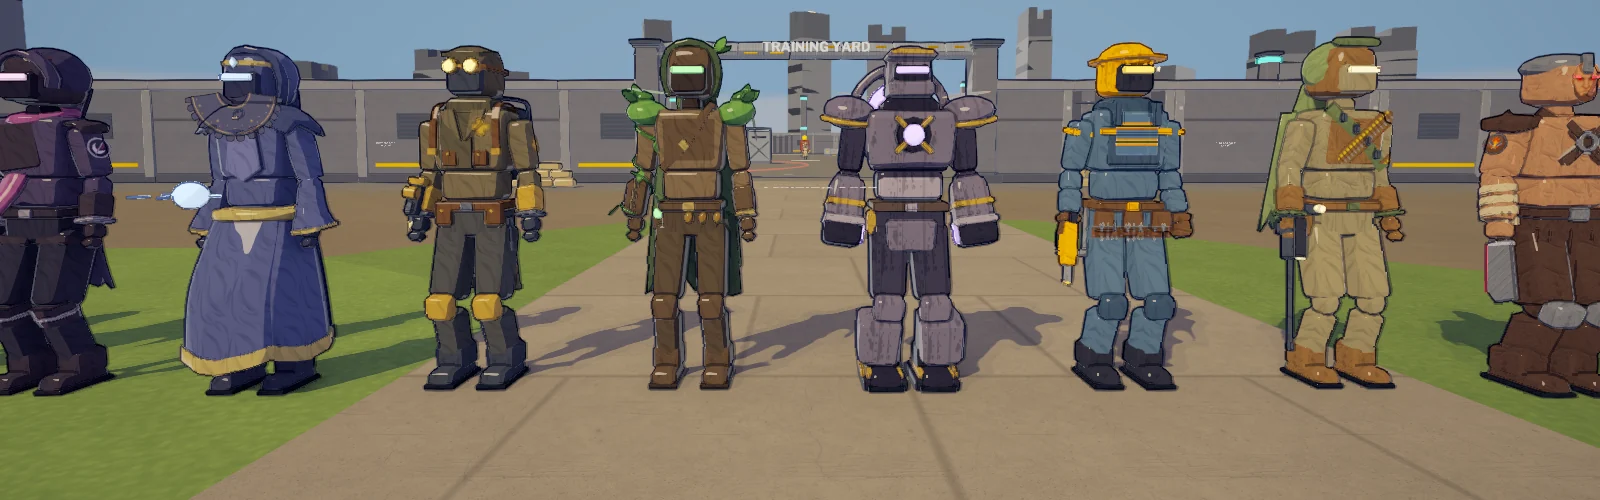
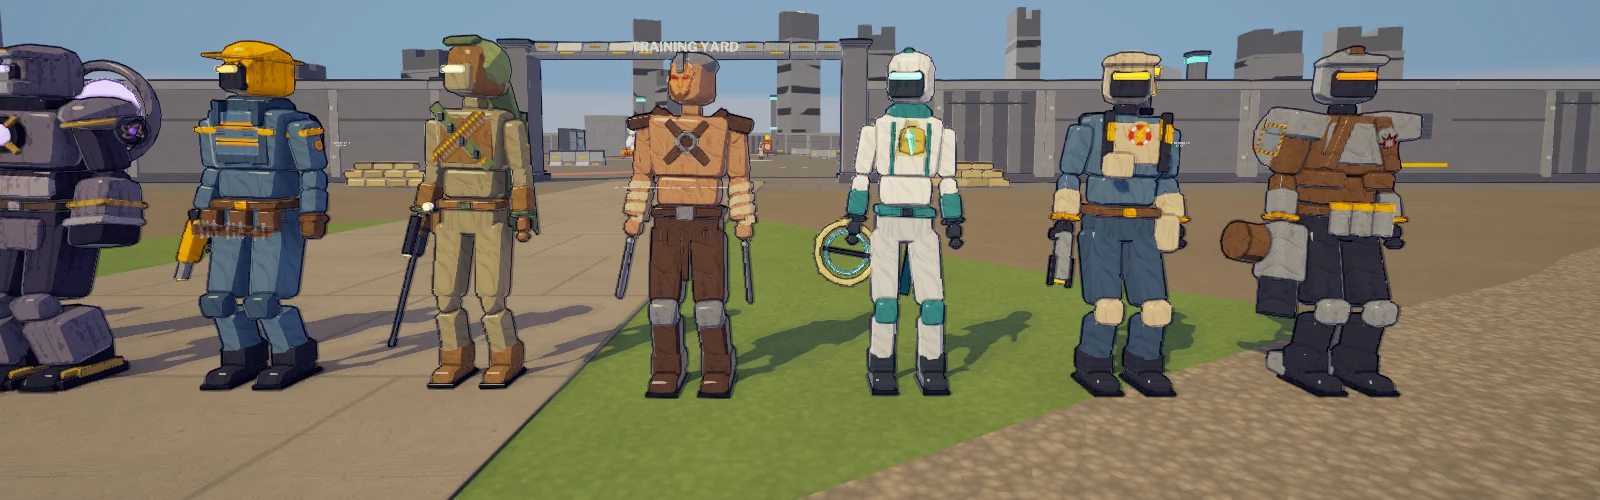
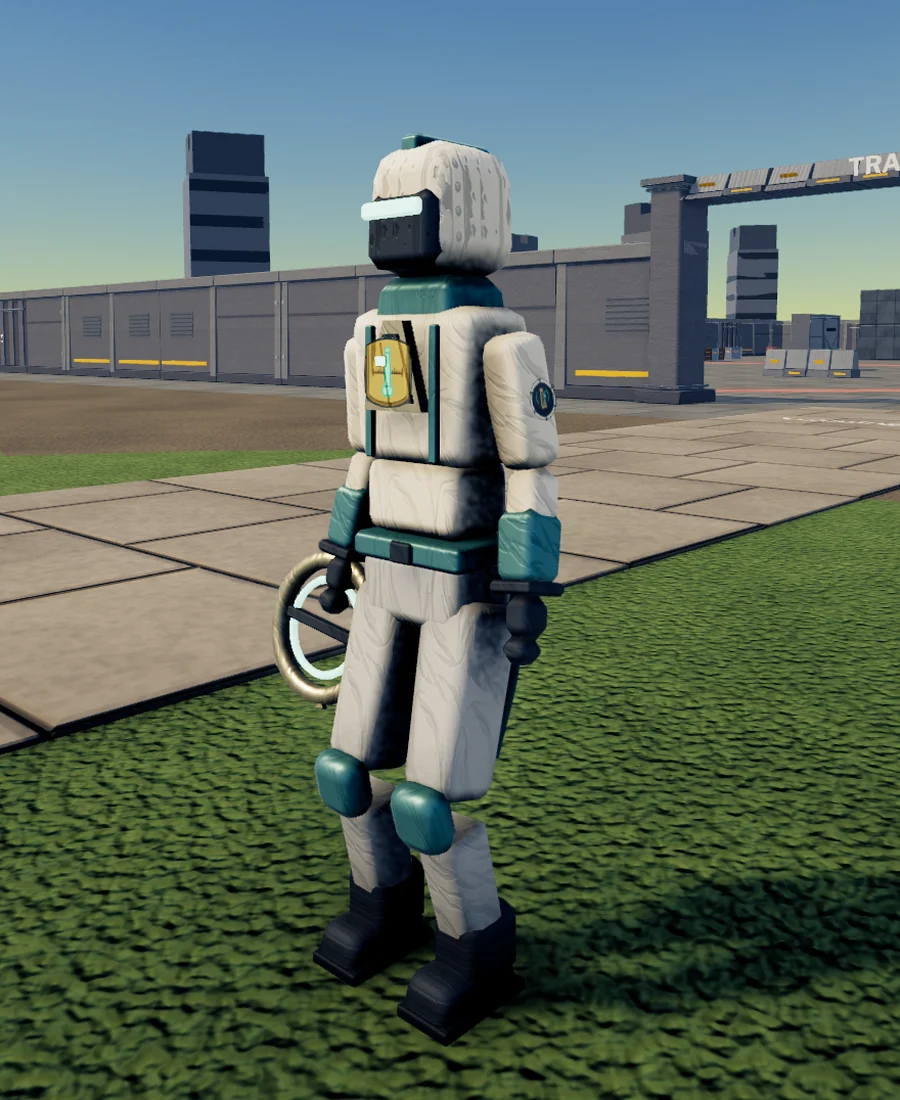
The crew in the game, with their painted helmets and emblems
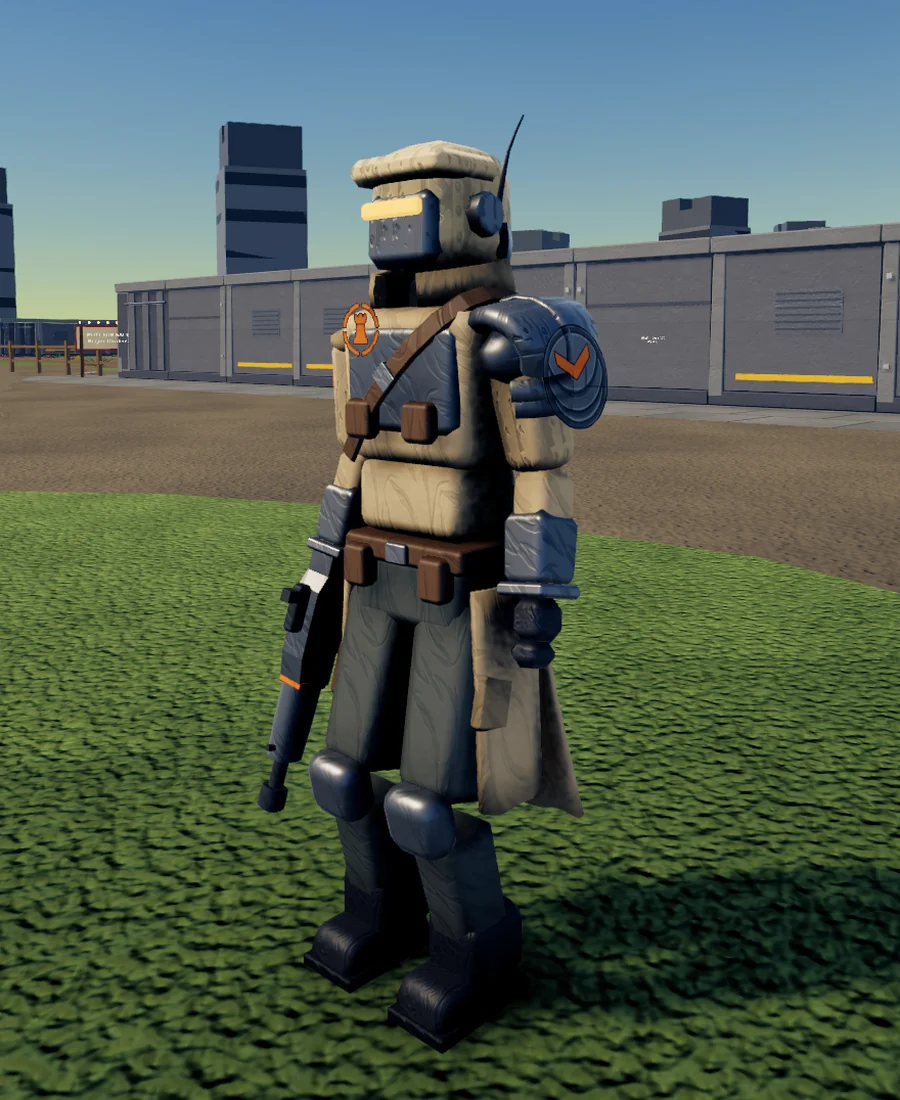 In the game
Momentum gunner · Starting crew
Positioning is his ammunition. Rook moves, dodges and swings through a fight, and spends the momentum it builds on overcharged bursts.
 LMB
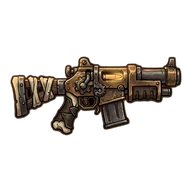
Hold to fire three-round bursts. A burst with a full momentum meter is overcharged: harder hits.
 RMB
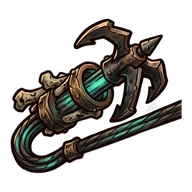
Pulls a small enemy to you, or pulls you to a large one. It tears exposed cores out of elites.
 Q
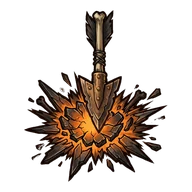
Leap at a target and slam down, knocking back what's near where you land.
Filled by tethering, vaulting and well-timed dodges. The next burst spends it.
The Ultimate. It charges as you fight; when it’s full, it’s this Reclaimer’s biggest move.
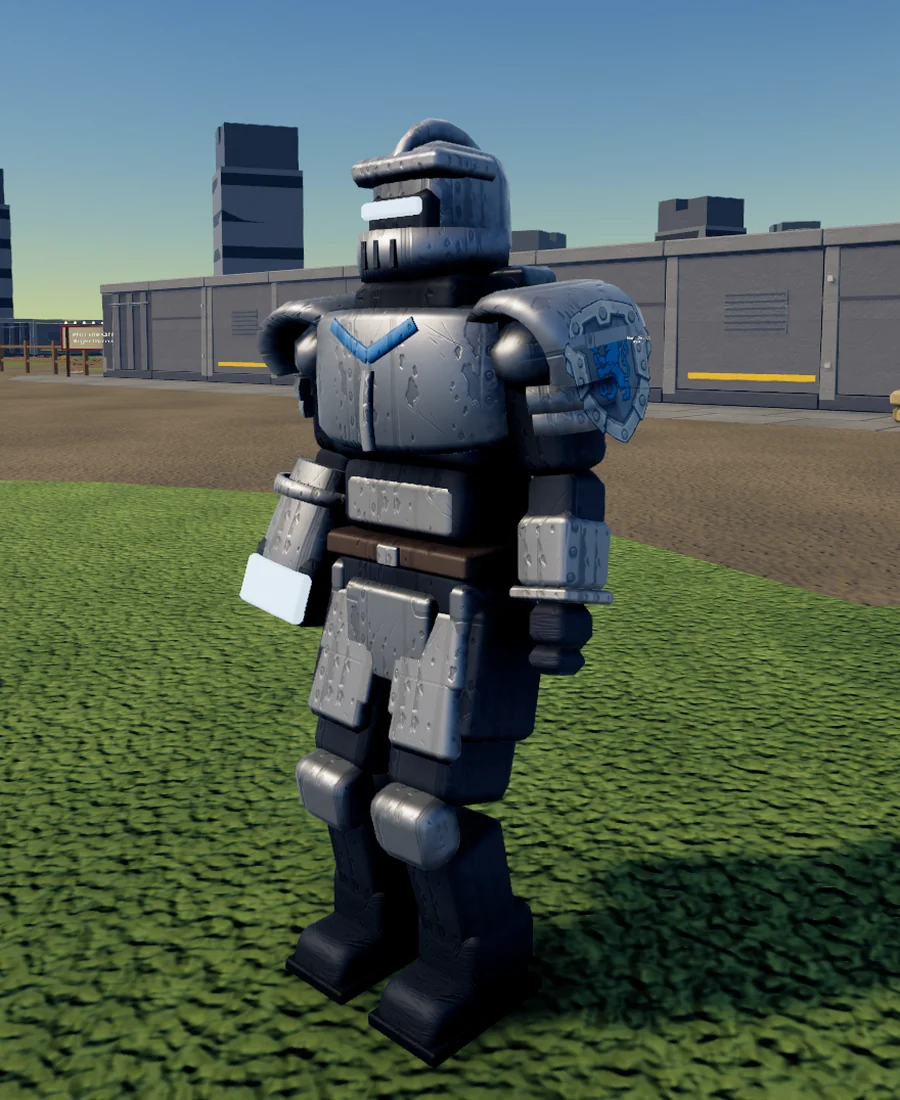 In the game
Impact brawler · Starting crew
Controlled defense into bursts of aggression. Bastion blocks, stores the force, and lets it all go at once.
Impact brawler. Controlled defense, then sudden aggression.
 LMB
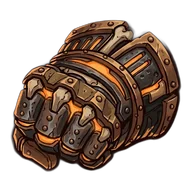
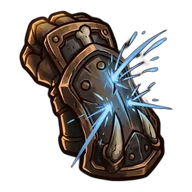
Hold to swing: a three-blow combo in front of you. The third blow knocks enemies back and throws a short force shot.
 RMB
Hold to block everything from the front. Every block stores Force; let go with enough stored and it goes out as a blast.
 Q
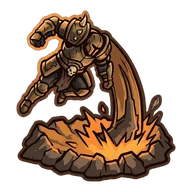
A powerful leap whose landing staggers what it hits.
Comes from landing heavy blows and blocking, so he never depends on being hit.
The Ultimate. It charges as you fight; when it’s full, it’s this Reclaimer’s biggest move.
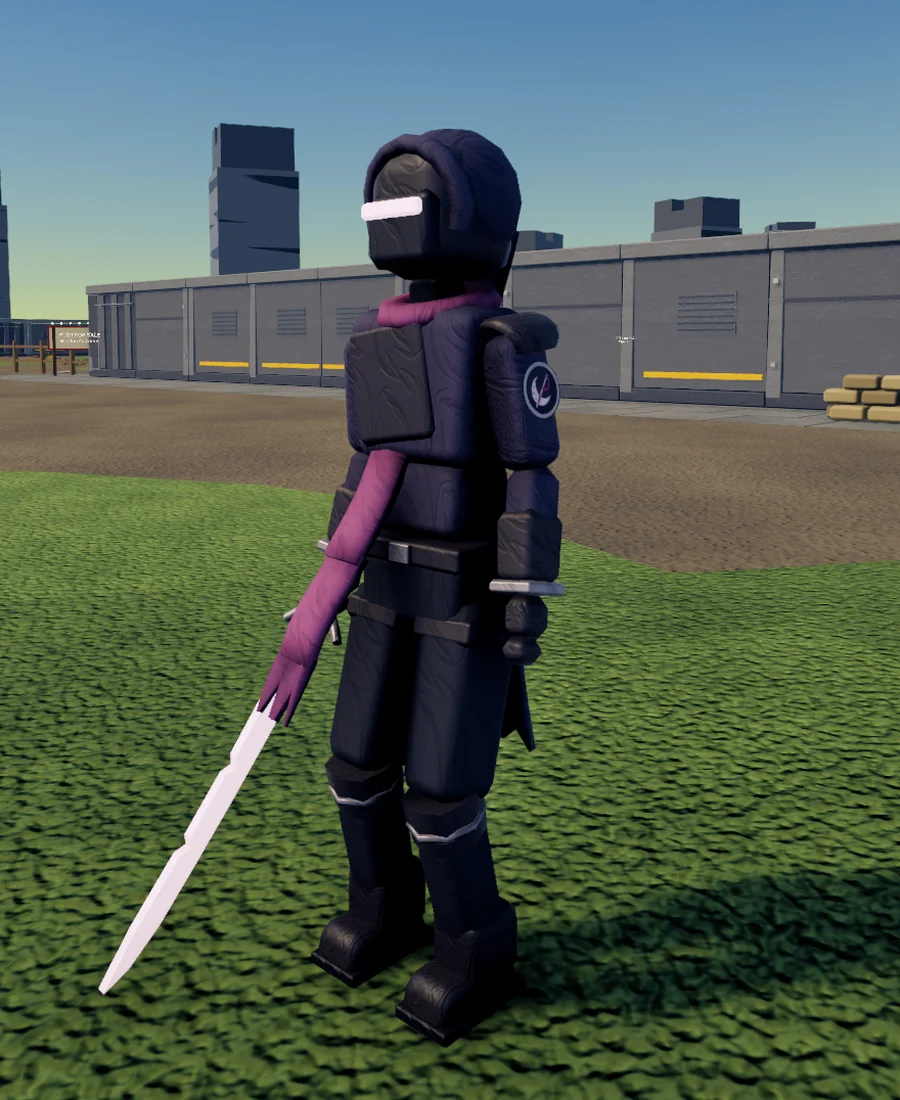 In the game
Rift duelist
A blade that fights from new angles. Thread marks enemies, links them together and swaps places to strike from somewhere else.
Rift duelist. Marks connect his targets; new angles are his strength.
 LMB
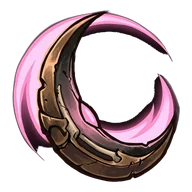
Hold to slash: two quick cuts, then a crescent that flies out 22 m and passes through everything.
 RMB
A needle that marks what it hits (three at once). Damage one marked enemy takes, the others take a share of.
 Q
Trade places with the enemy under the crosshair, staggering it; a marked one's mark detonates. Nothing there: a short blink.
A hit from a new spot, 4 m or more from your last, deals more and fills it. Full, the next crescent splits in three.
The Ultimate. It charges as you fight; when it’s full, it’s this Reclaimer’s biggest move.
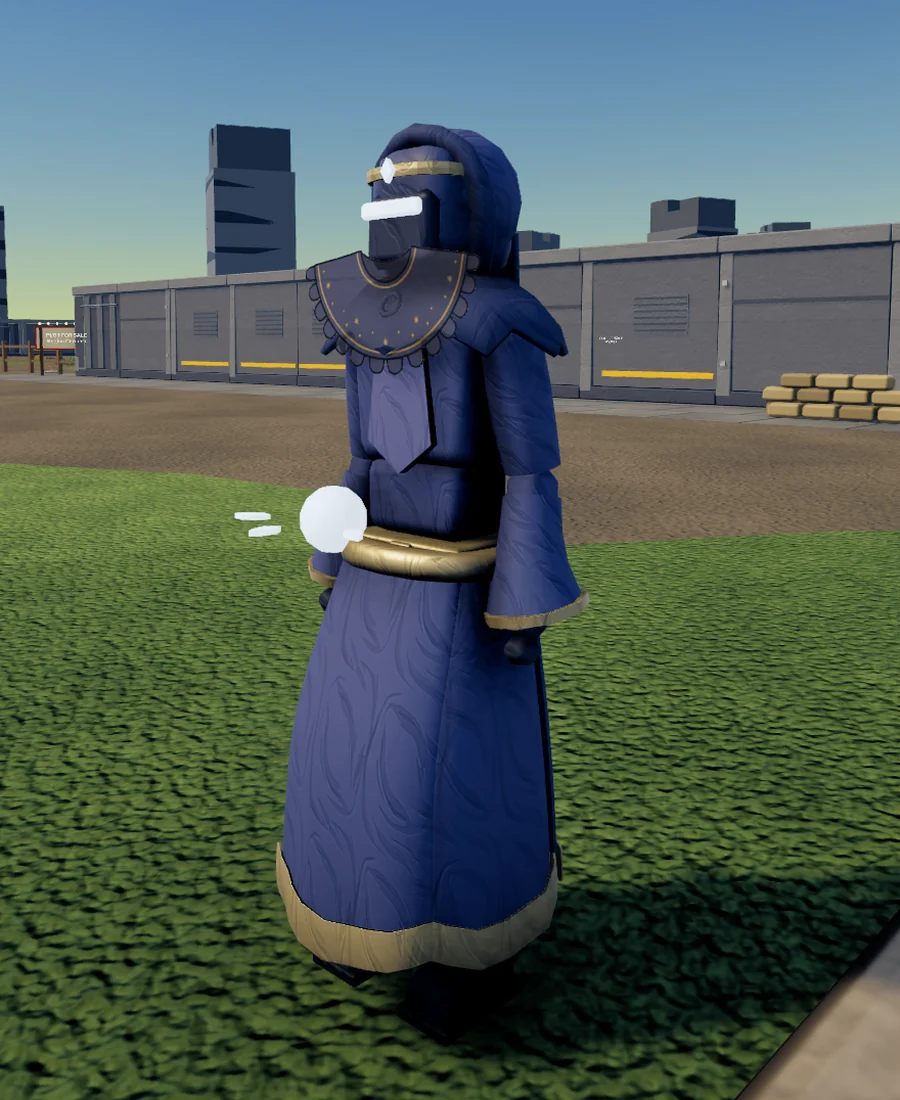 In the game
Spell architect
Vesper builds interactions between her own spells: bolts through prisms, blinks that leave echoes, and resonance from mixing it up.
Spell architect. She builds interactions between her own spells.
 LMB
Hold to cast bolts. A bolt through one of her prisms splits into three.
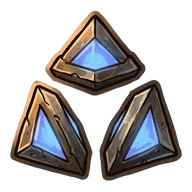 RMB
Set a floating prism at the crosshair (two at once). Each one beams the nearest enemy.
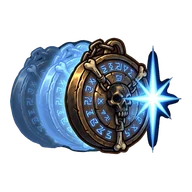 Q
Teleport 9 m along your aim; an echo left behind bursts a moment later.
Using a different kind of ability than the last builds it. Full, the next prism is bigger, stronger and lasts longer.
The Ultimate. It charges as you fight; when it’s full, it’s this Reclaimer’s biggest move.
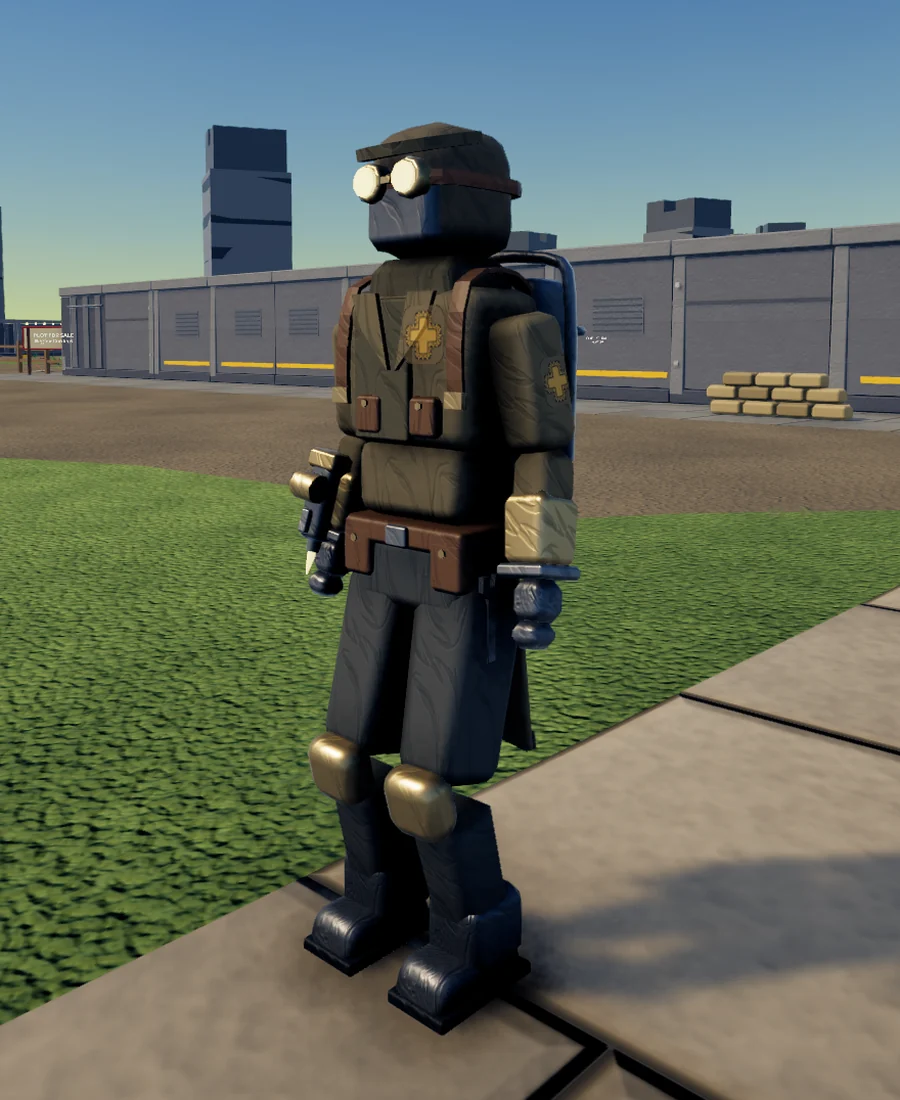 In the game
Swarm commander
Where the drones go matters as much as having them. Stitch tags targets, points the drones at them, and swaps places with a drone to get out.
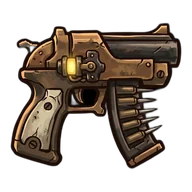 LMB
Hold for needles. A needled enemy is tagged, and idle drones go after tagged enemies first.
 RMB
On an enemy, both drones attack it; on nothing, they come back and guard you, knocking shots out of the air.
 Q
Trade places with the drone farthest along your aim.
Drone zaps and swatted shots fill it. Full, the next attack command overclocks the drones: faster, harder, rebuilt at once.
The Ultimate. It charges as you fight; when it’s full, it’s this Reclaimer’s biggest move.
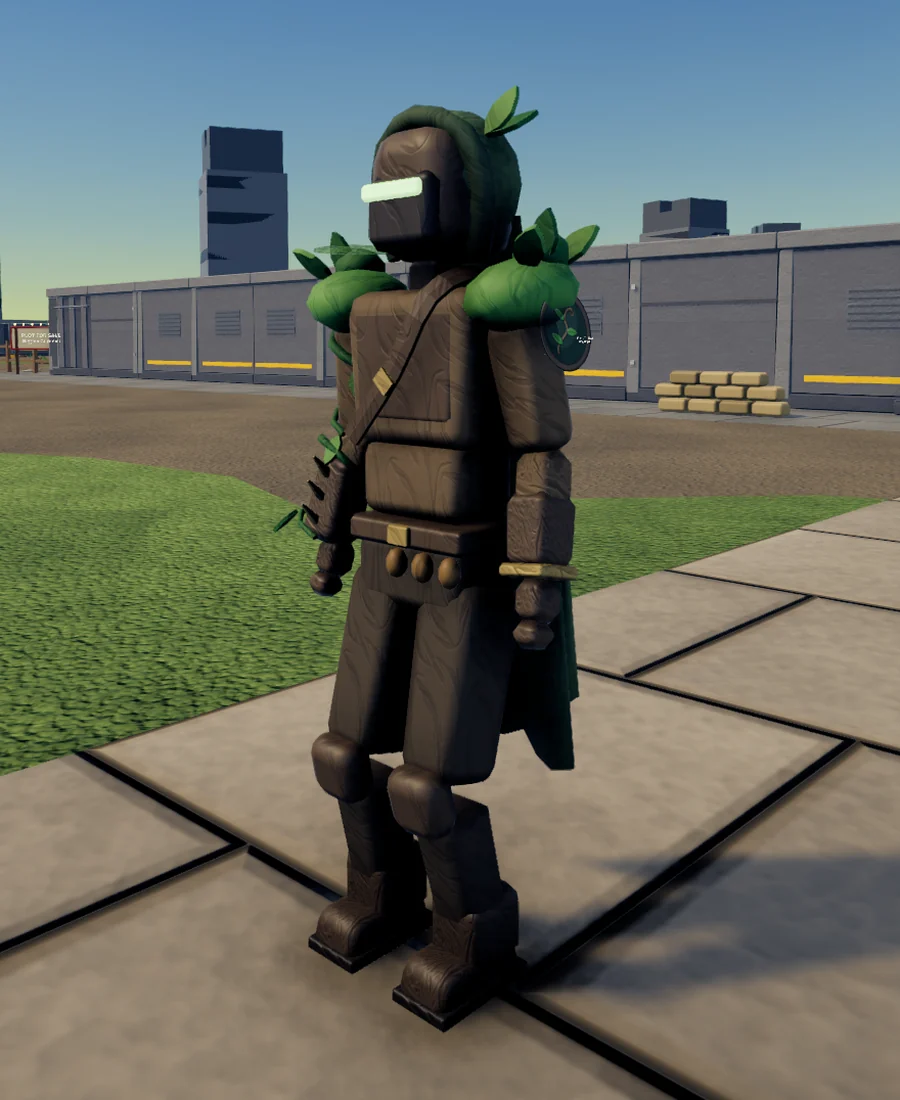 In the game
Vitality alchemist
Poison, seeds and growth. Vale wears enemies down over time and heals from what she plants.
Vitality alchemist. Damage becomes a reserve, and the reserve becomes a choice.
 LMB
Hold for thorns that build Rot, a slow poison.
 RMB
Plant a seed at the crosshair (three at once). It bursts, then leaves a bloom that heals Vale while she stands in it.
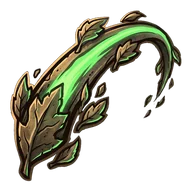 Q
A quick dash that leaves a growth trail: it slows enemies on it and heals Vale.
Damage she deals fills it. Full, her next seed is Overgrown (twice the burst). If she drops below 40% health first, it heals her instead.
The Ultimate. It charges as you fight; when it’s full, it’s this Reclaimer’s biggest move.
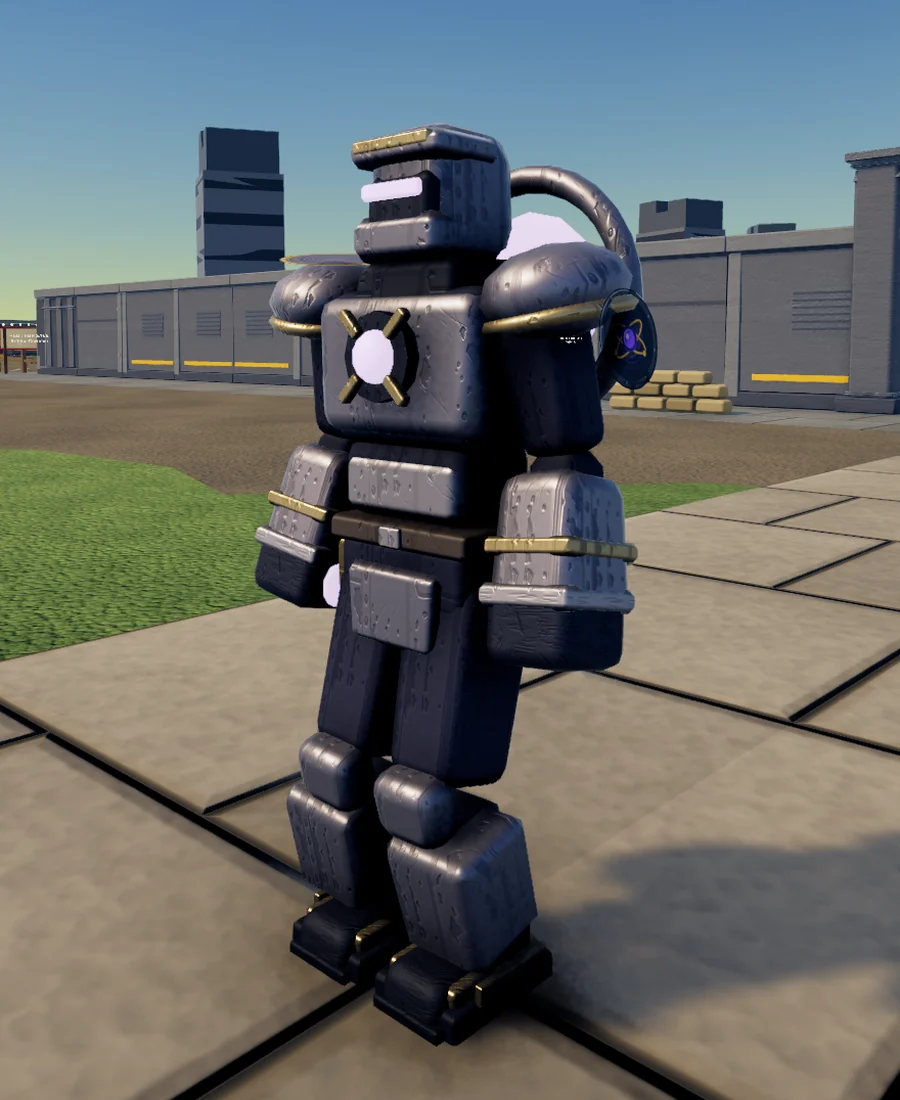 In the game
Gravity wrangler
Throws the world at the enemy: enemies into enemies, barrels into crowds, crates through walls.
Gravity wrangler. The heaviest thing in the room is a weapon, and so is the lightest enemy.
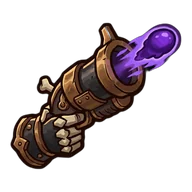 LMB
Heavy, slow shots that shove light enemies back a step.
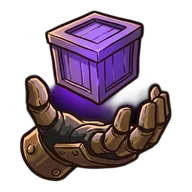 RMB
Hold on a light enemy, a barrel, a hazard or a crate to lift it; let go to throw it. On a heavy enemy or a boss: a gravity slam.
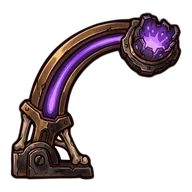 Q
Launch toward the crosshair; the landing pulls light enemies into a knot around you.
Thrown impacts fill it. Full, the next throw is a meteor that throws everything near where it lands.
The Ultimate. It charges as you fight; when it’s full, it’s this Reclaimer’s biggest move.
 In the game
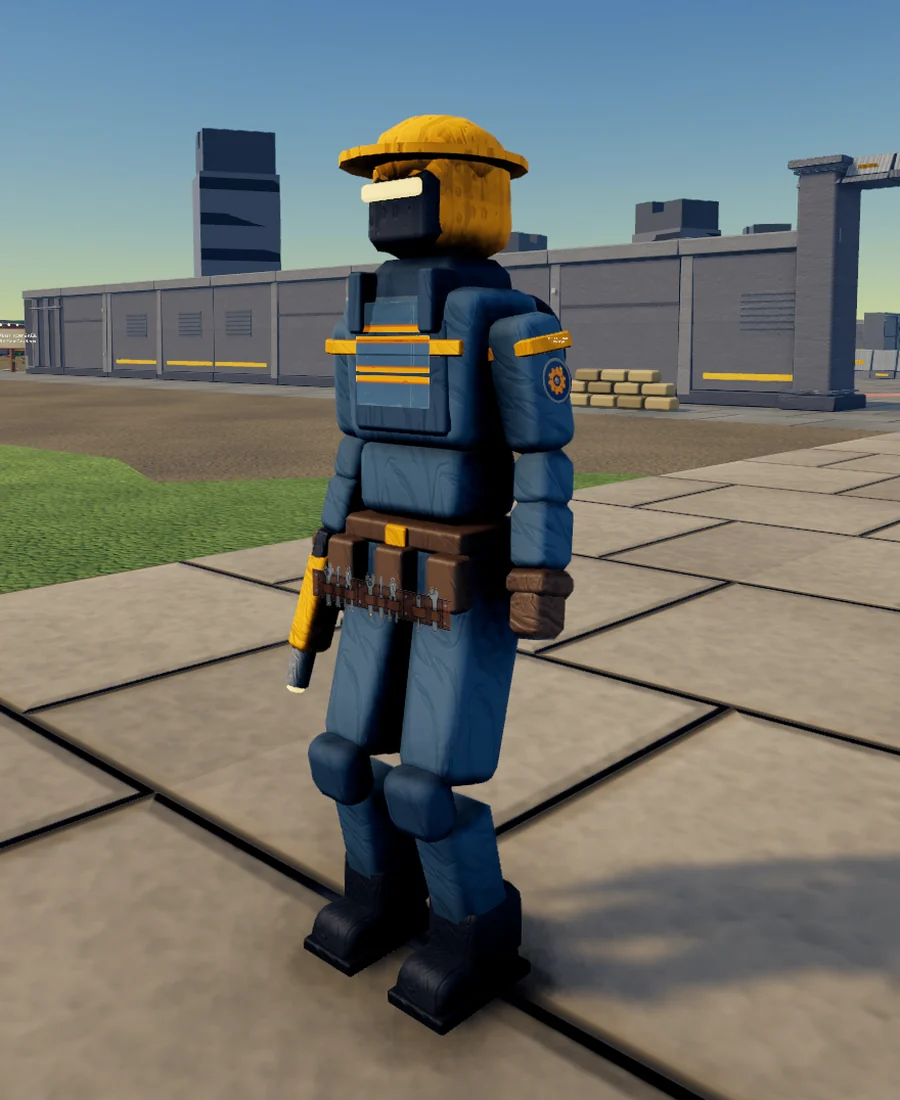
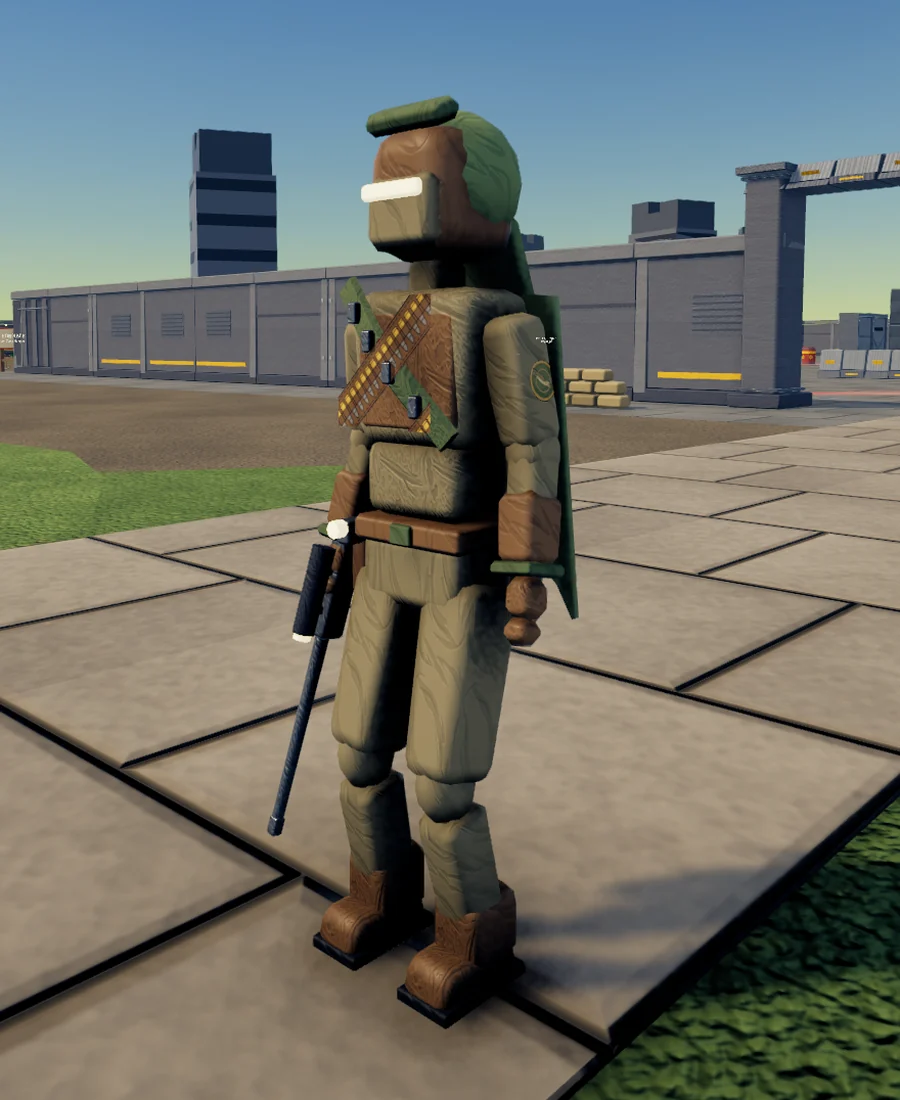
Engineer
Wins fights before they start: lays the ground, then pulls enemies onto it.
Engineer. The fight is decided by where the mines were before it started.
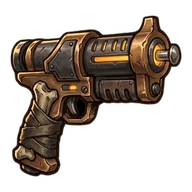 LMB
Fast nails. Three in one enemy within two seconds pin it in place for a moment.
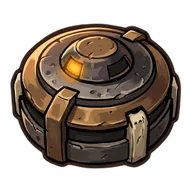 RMB
Plant a proximity mine at the crosshair (three at once). It bursts when an enemy steps close, or when you shoot it.
 Q
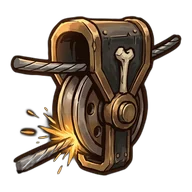
Ride a cable to the crosshair. The cable stays a few seconds as a tripwire that shocks and slows what crosses it.
Trap hits fill it. Full, the next RMB builds a sentry turret instead of a mine.
The Ultimate. It charges as you fight; when it’s full, it’s this Reclaimer’s biggest move.
 In the game
Marksman
The slow, deliberate one: charge, line up the weak point, fire.
Marksman. One shot, lined up well, is worth a magazine.
 LMB
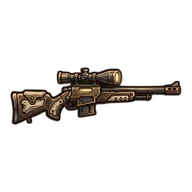
Hold to charge, let go to fire. A full charge pierces three enemies, and a weak point takes triple. Standing still charges faster.
 RMB
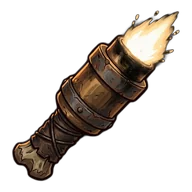
Lights an area for a few seconds; enemies in it take more damage from you.
 Q
Straight up, then a slow drift down: a perch to shoot from.
Weak-point hits fill it. Full, the next full-charge shot ricochets to two more weak points.
The Ultimate. It charges as you fight; when it’s full, it’s this Reclaimer’s biggest move.
 In the game
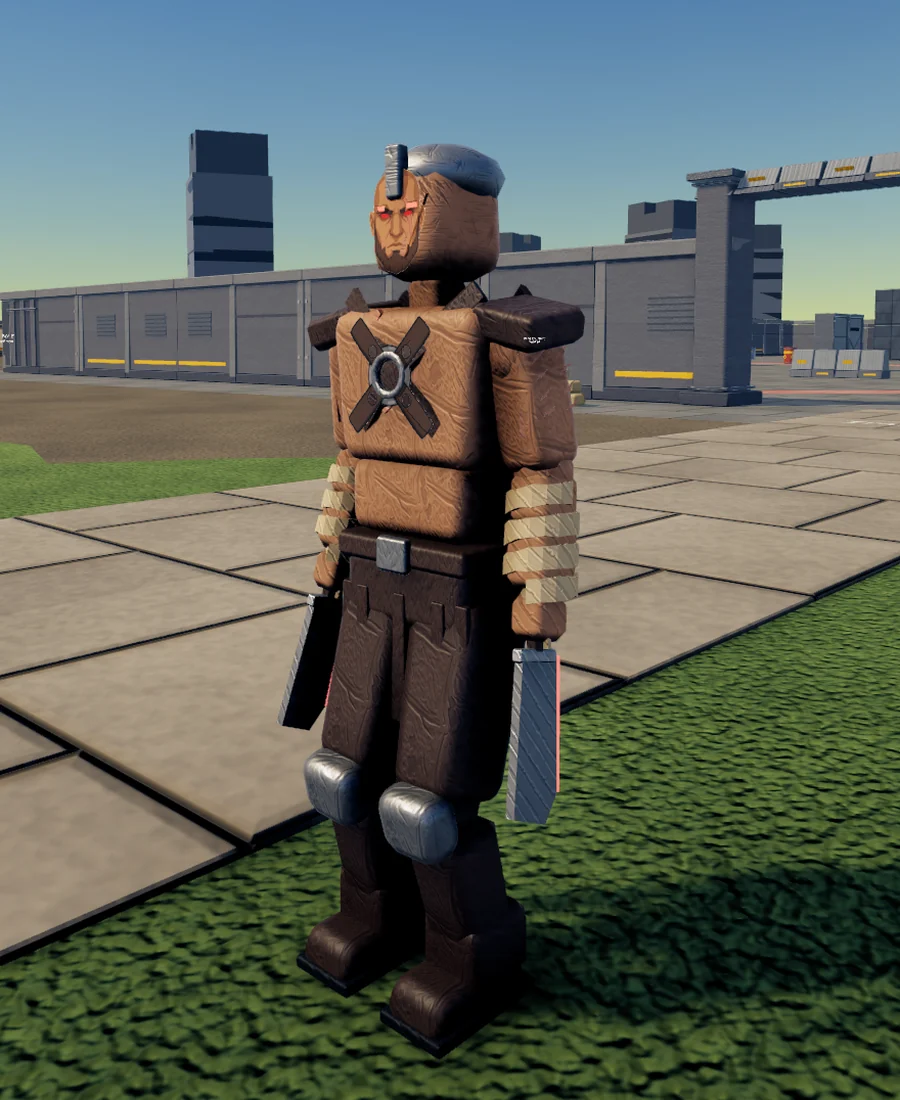
Berserker
Spends health to go faster and hit harder, and gets it back by killing.
Berserker. Every wound is a down payment on the next kill.
 LMB
A fast four-hit combo; the fourth is a heavy cross-cut that throws light enemies back.
 RMB
Spend a slice of health for a few seconds of frenzy: faster swings, and every hit heals.
 Q
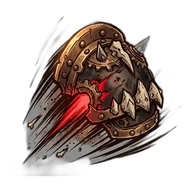
A dash that tears through and staggers everything in its path.
Fills from dealing and taking melee damage, and drains fast; damage rises with it. Kills heal, and below 30% health Brand hits harder still.
The Ultimate. It charges as you fight; when it’s full, it’s this Reclaimer’s biggest move.
 In the game
Tempo fighter
Fights to the soundtrack's beat and plays with time.
Tempo fighter. She fights to the music, and sometimes a little behind it.
 LMB
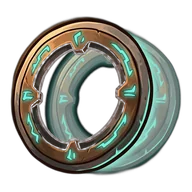
It flies out and comes back, hitting on both passes (two in the air at once).
 RMB
Your next three throws repeat a beat later from an afterimage where you stood.
 Q
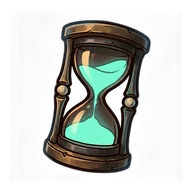
Snap back to where you were two seconds ago, and get back half the health you lost since.
Throws on the music's beat fill it. Full, the next echo repeats every throw twice.
The Ultimate. It charges as you fight; when it’s full, it’s this Reclaimer’s biggest move.
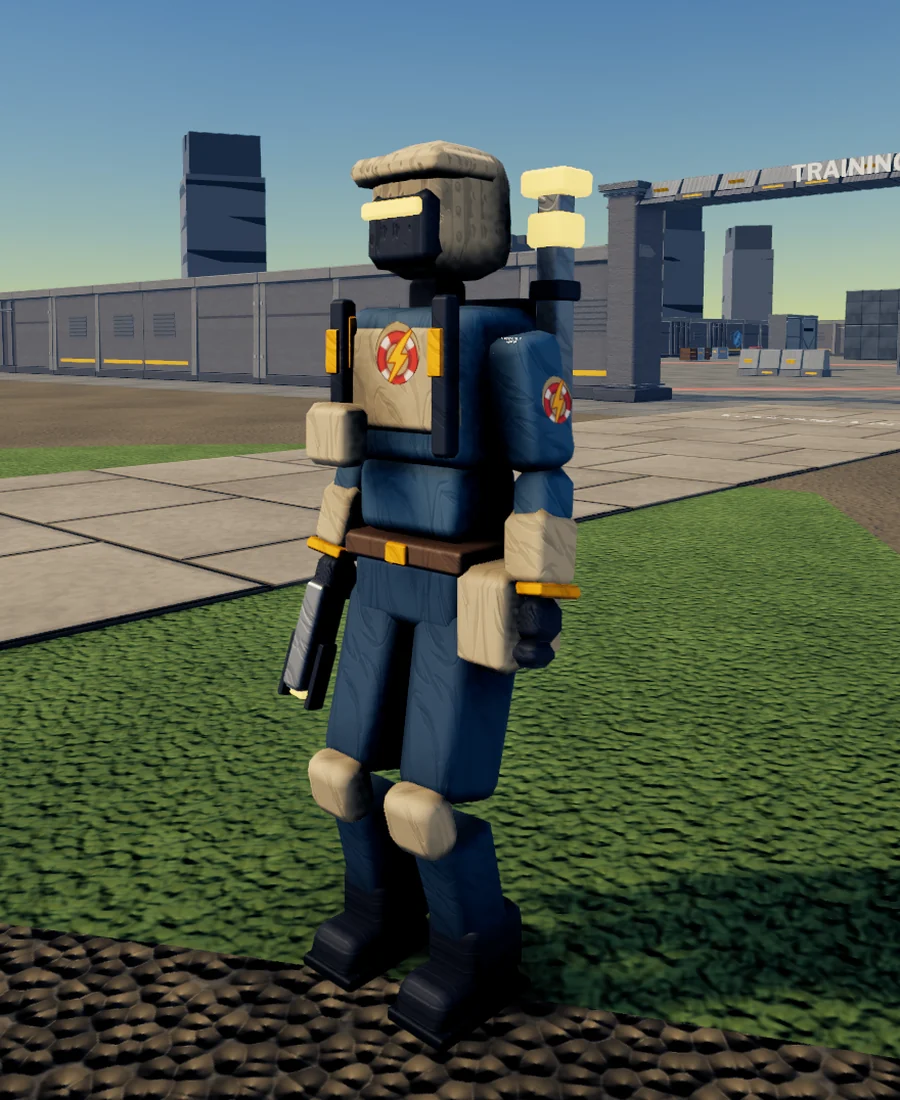 In the game
Rescue specialist
Holds a safe foothold under pressure, then dashes out with temporary protection.
 LMB
A precise shot that arcs to one nearby enemy when cover allows.
 RMB
Deploy an amber beacon at your feet. It restores temporary protection while you stand inside.
 Q
A short forward dash that grants temporary protection.
Deal damage from inside the ward to fill it. Full, your next ward grants stronger protection.
The Ultimate. It charges as you fight; when it’s full, it’s this Reclaimer’s biggest move.
 In the game
Demolition skirmisher
Bounces grenades around the battlefield and chooses the instant they burst.
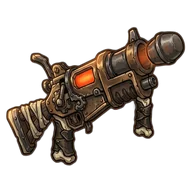 LMB
Grenades explode on direct hits, bounce off terrain, or burst after a short fuse.
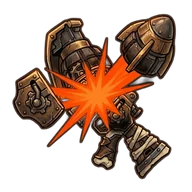 RMB
Detonate your airborne grenades. A timed burst that hits an enemy builds Pressure.
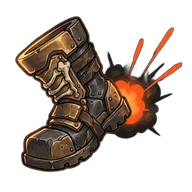 Q
Blast nearby enemies and launch in your movement direction, or forward while standing.
Direct hits and timed airbursts fill it. Full, your next grenade creates a smaller second blast.
The Ultimate. It charges as you fight; when it’s full, it’s this Reclaimer’s biggest move.
A run crosses three stages and you choose the route: a landing zone, then a breach gate, then the throne. What you finish, sabotage, or leave standing follows you to the final fight. Leave the throne nothing to borrow, and a tear opens behind it.
A burned-out industrial basin in Brightwater County that the Ironbound use as a staging ground. The Procession crawls its main road toward Lantern Yard, and a relay tower calls its escorts.
Boss · The Procession
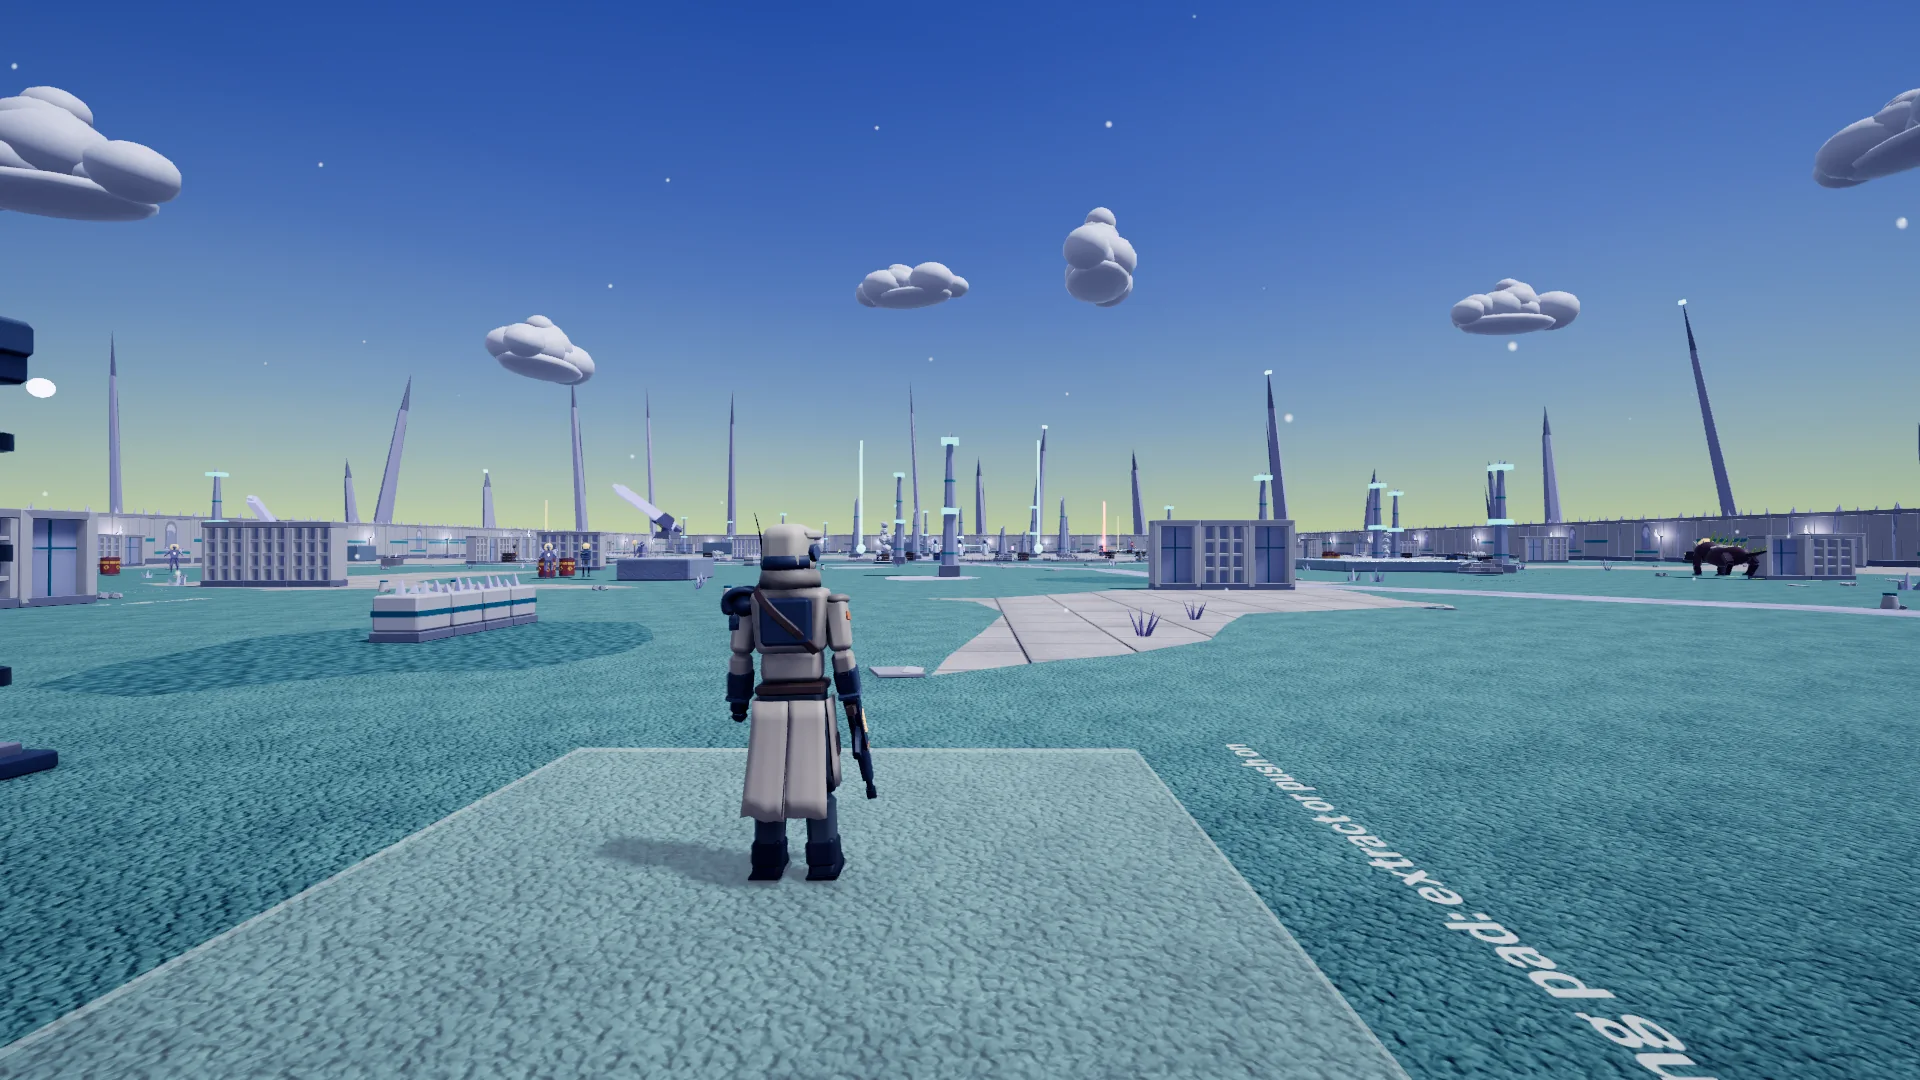
Pale glass country where the Hollow have settled in. A dry canal carries the Choir's resonance underground; an outpost of Reclaimers holds out in the north-west.
Boss · The Hollow Choir
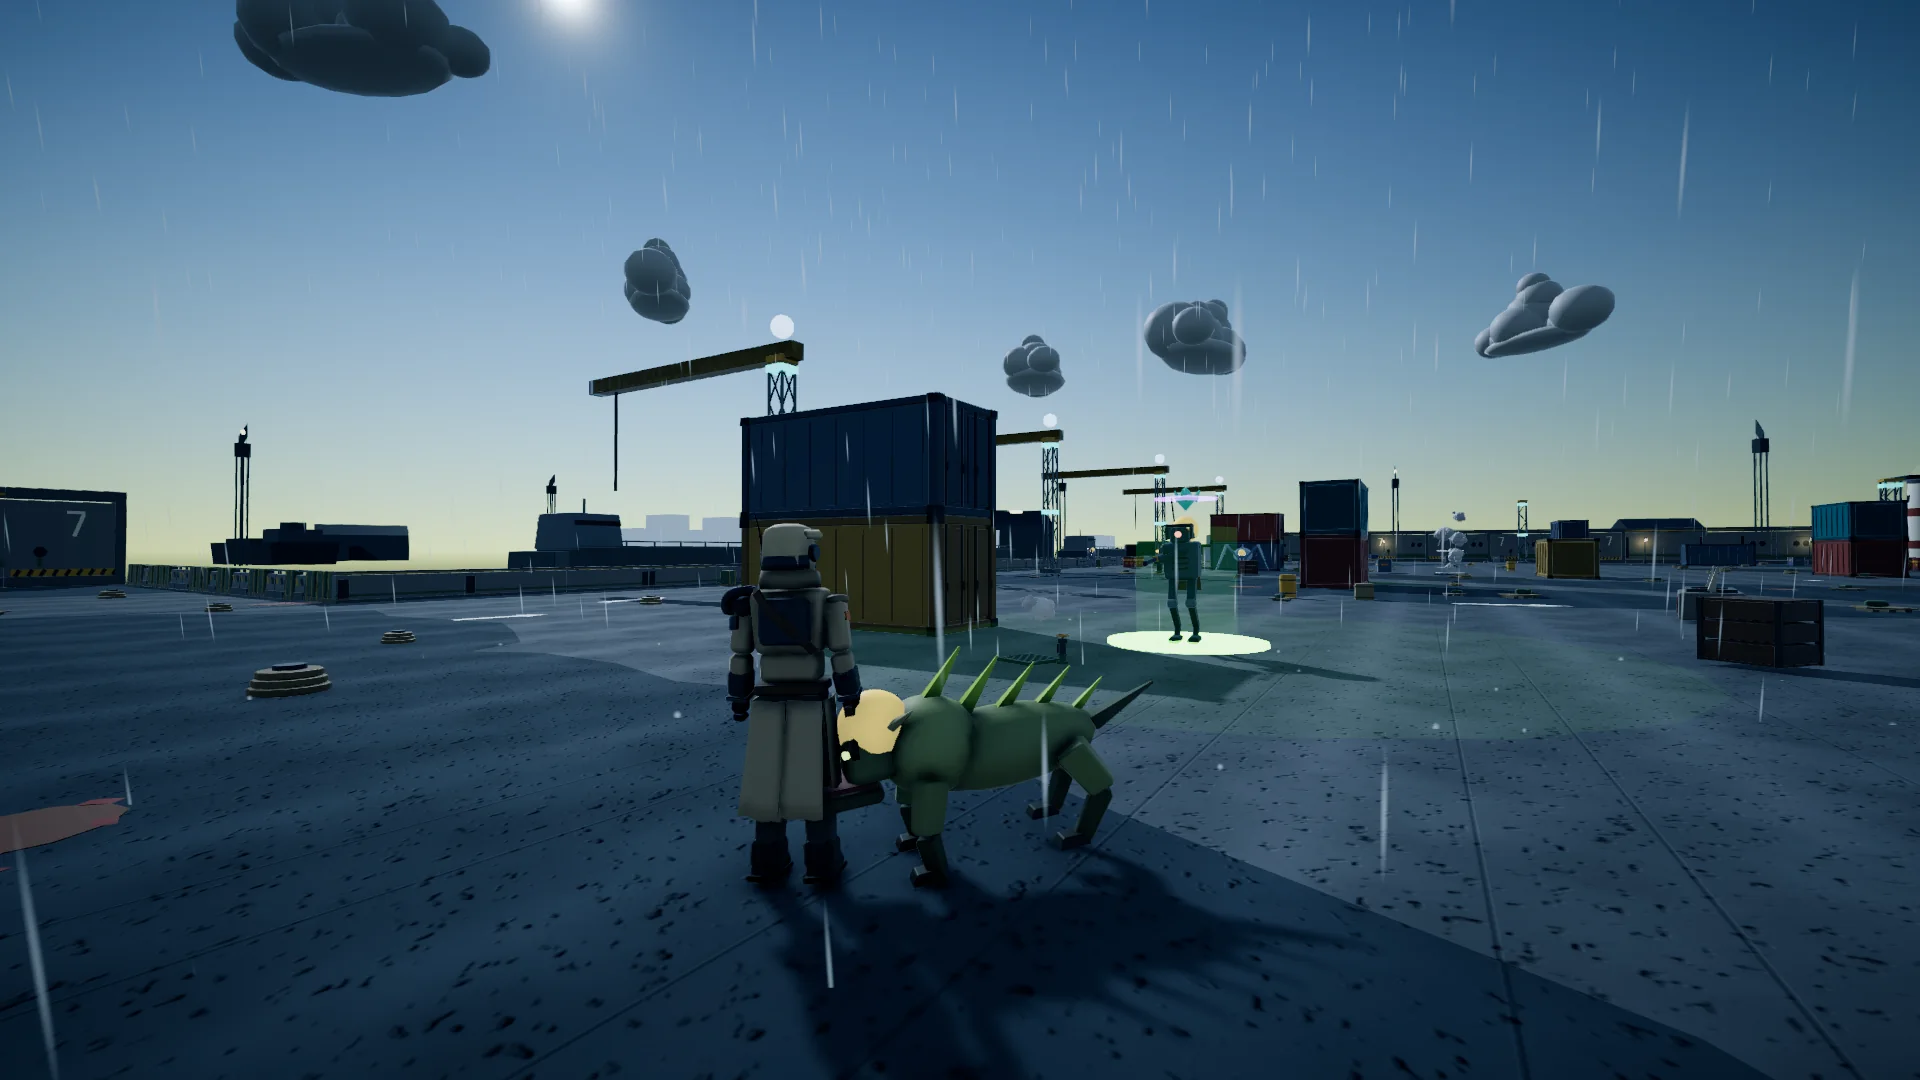
A gray harbor the Hollow use to ship garrisons to the King. Transports load in the basin, a courier waits with the King's orders, and the Glass Widow nests on the cranes.
Boss · The Glass Widow
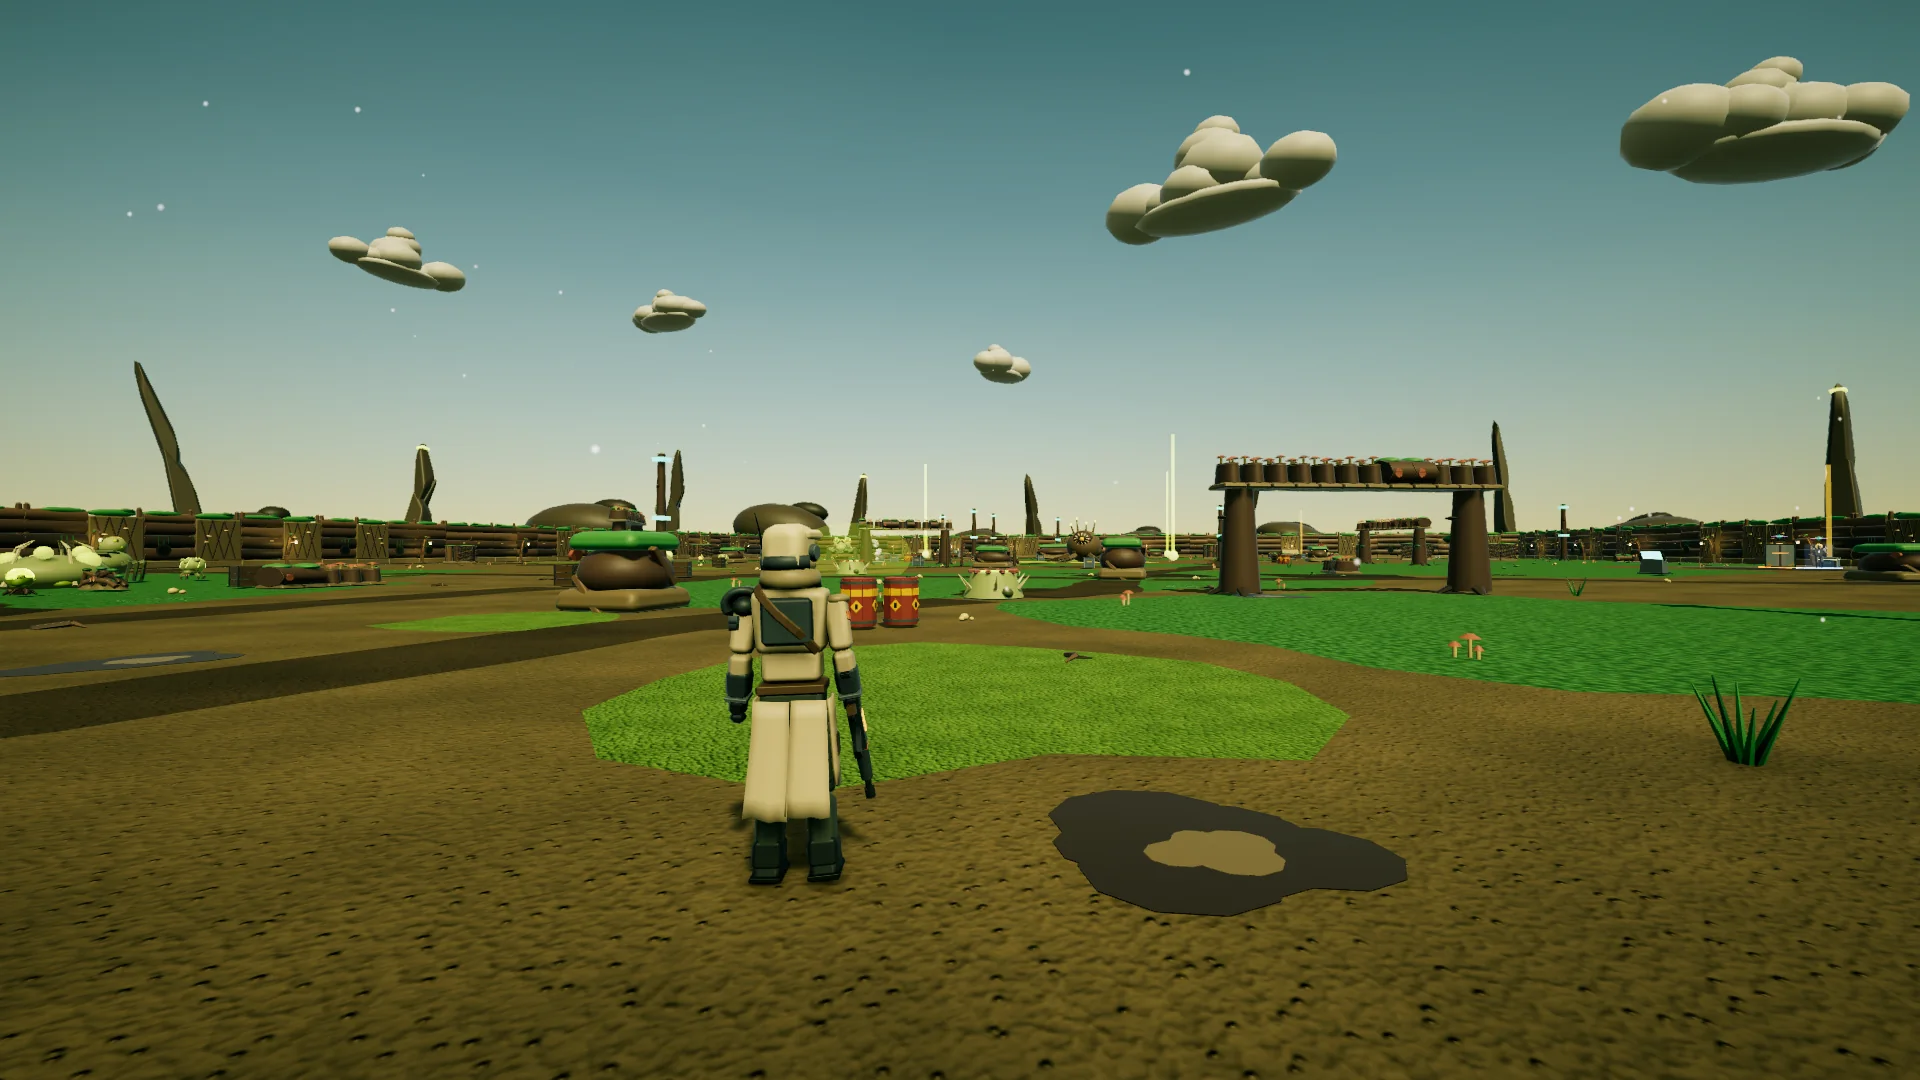
Marrowborn growth over an old Reclaimer dig. Brood nests breed, spore vents breathe, and the Root Maw holds its basin. A Reclaimer surveyor still wants to finish the map.
Boss · The Root Maw
9 more regions lie past these, and not all of them are on the map.
Every region rolls a set of three steps from nine kinds of objective. Hold a zone through the waves, walk a cart through the crossfire, light a fuse and get clear. Take the loud way through or the quiet one. A step you fail pays nothing, and the set carries on.
Four factions hold the regions. Each fights differently, and each boss has a weak point you open by reading it. And something else is waiting on the other side of the breach.
Living war machines that fight in formation: shields, rifles, artillery. They coordinate, so taking out what coordinates them matters.
Invasive organisms that swarm, burrow and grow. They reshape the ground they hold and breed faster than they die.
Reality-distorting entities that fight with positions, links and timing. They are rarely where they seem to be.
Weather that came through the breach riding a storm front: creatures of cloud, wind and lightning. They throw you around, rain hail on where you stand and crackle with static.
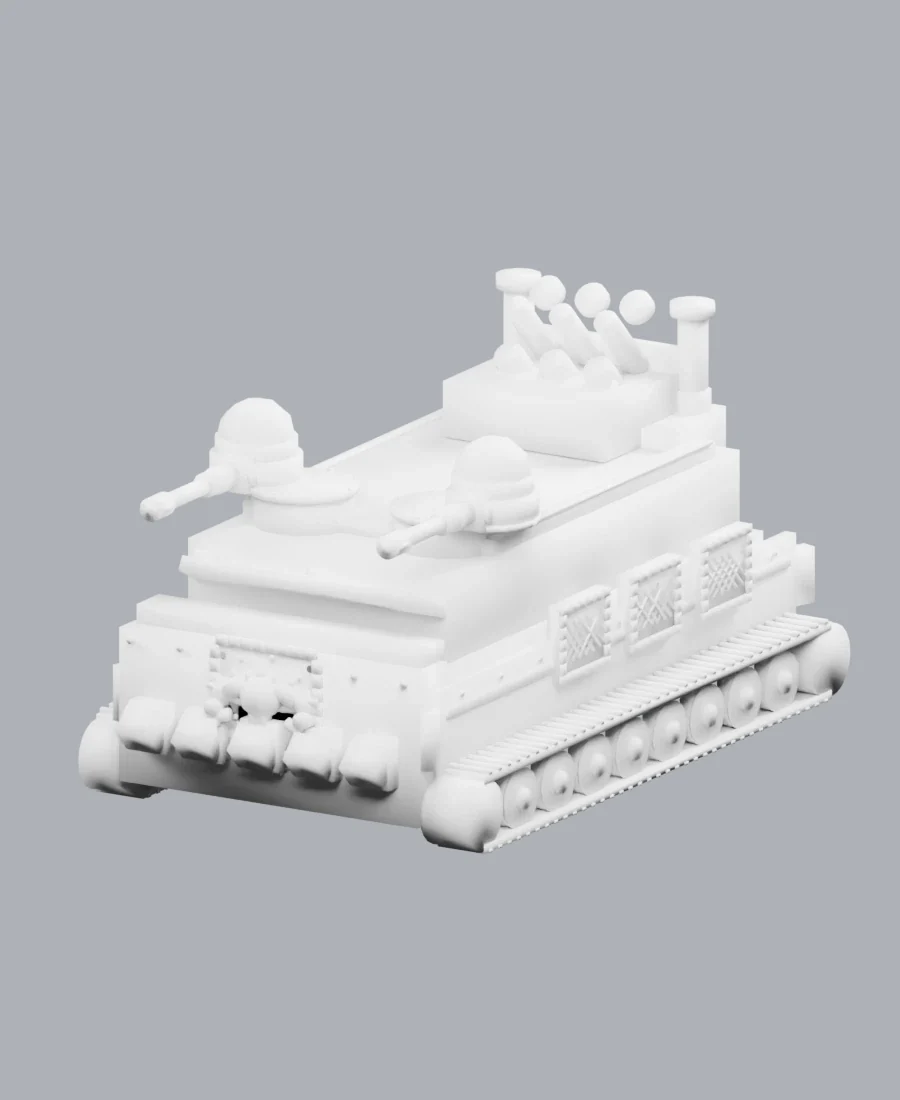
A walking siege engine already crossing the Cinder Reach. Steal its ammunition, cut its relay or save the refuge first: each changes the fight.
View in 3D ↗
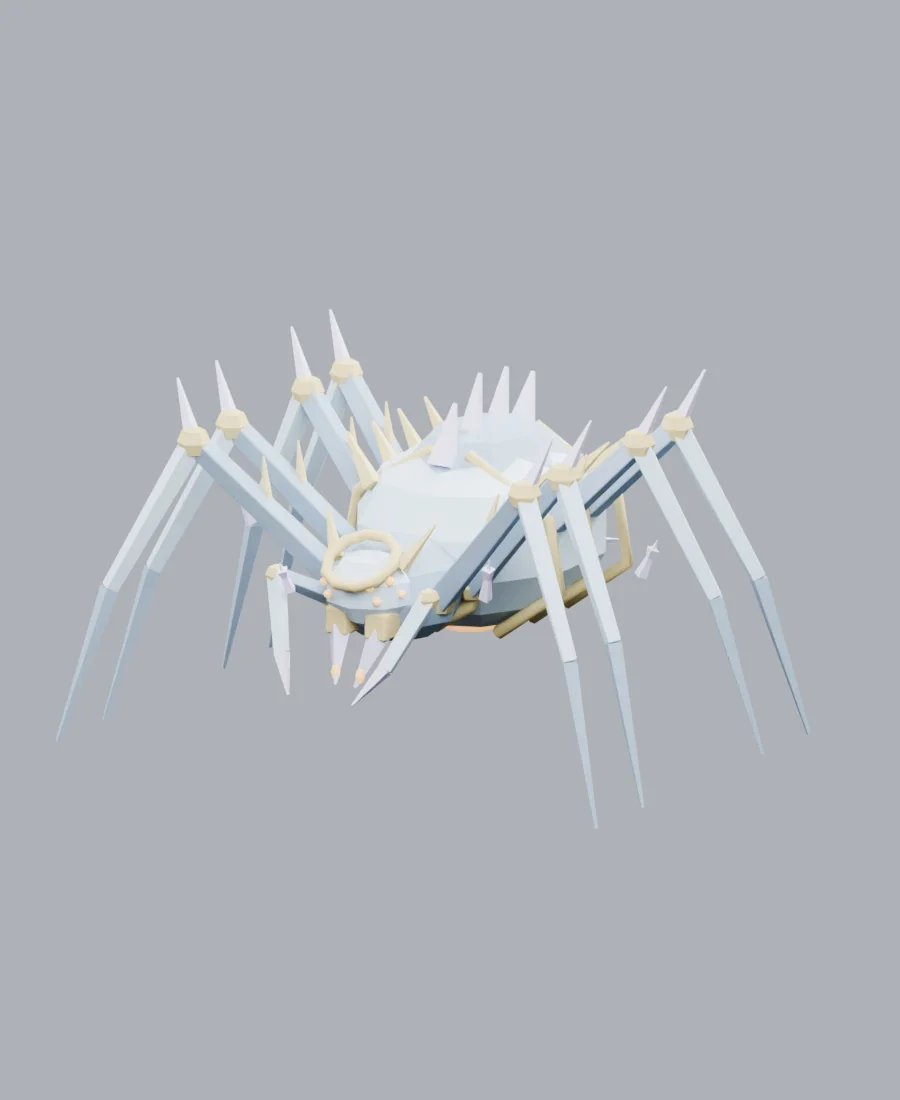
An ambusher that moves between high anchors, spreading shots and diving. Shoot out her web nodes and she has nowhere to go.
View in 3D ↗
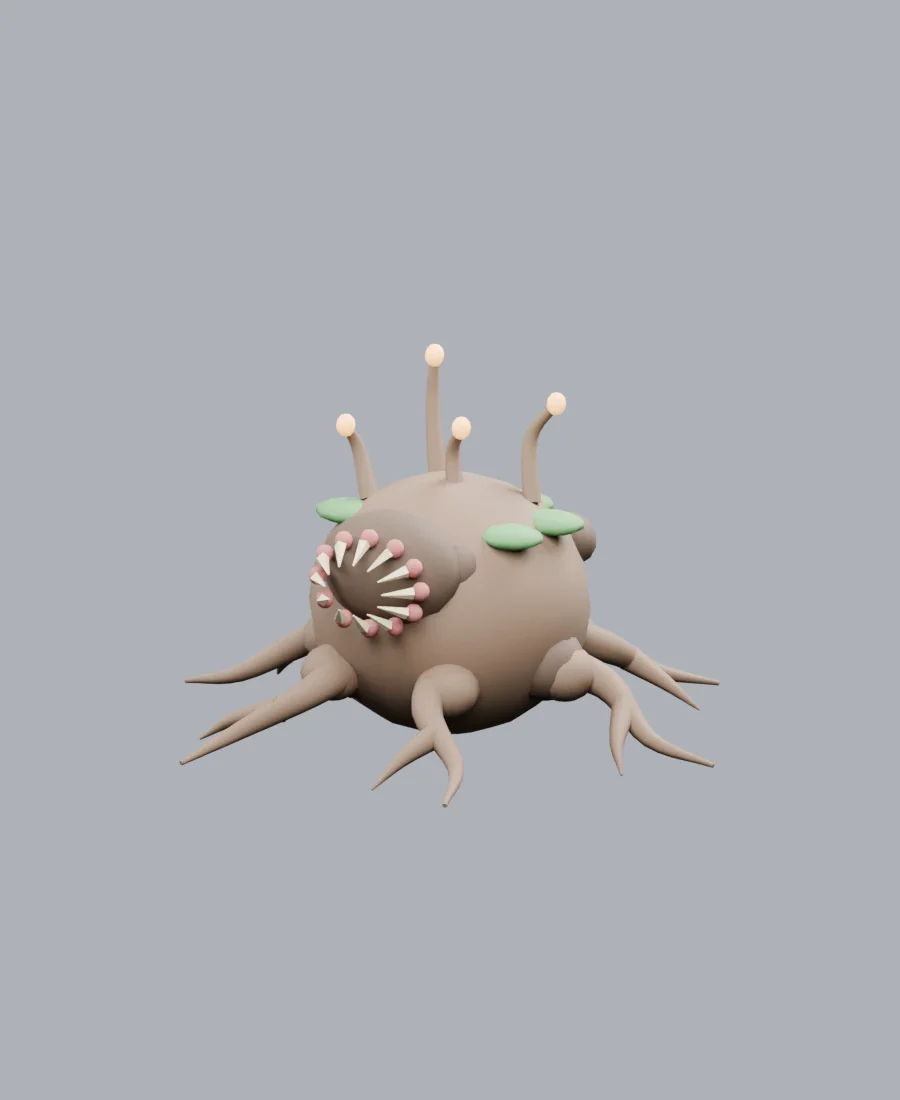
A rooted creature that reshapes the ground around it. Drain its basin, keep out of its lanes, and shoot its mouth after it breathes.
View in 3D ↗
In testing · twelve-player raids
Three squads of four split across three fronts at once, regroup to drive the ram to the gate, then face the boss your way in woke. There are six of them, and how you break in decides which one is waiting. Raid bosses drop armor no one else has, and every yard has a sealed door that wasn’t there before your first clear.
A storm cloud the size of the yard with a lightning core, the Squallborn's greatest. The core is out of reach until all three lightning rods are raised at once and the storm is grounded. It shifts the wind, drops hail, hunts you with lightning, sends a tornado through the yard, and in a surge strikes everything but the drifting eye.
An Ironbound drilling rig the size of a refinery, boring into the breach. It's fought on three levels at once, one squad on each: break its legs on the ground, its vented coolant lines up on the gantry, and its overheated drill head underneath, each level opening the next. If its bore reaches the bottom, the yard is lost.
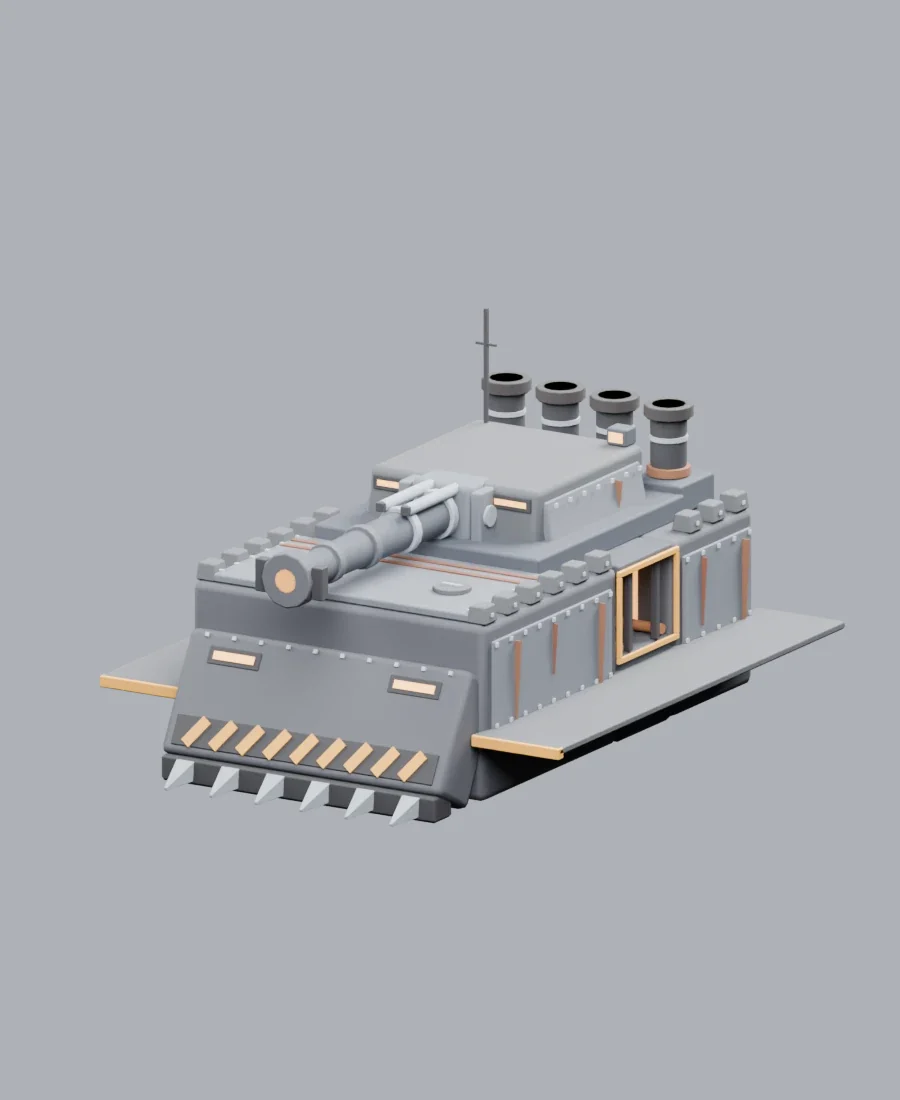
A tracked siege engine the size of a city block, walking on the muster hall: if it gets there, the raid is lost. Three squads, three jobs that rotate each phase: break its treads until it kneels, crack its armor plates with the yard's siege cannon, and board it to sabotage its main gun. After three phases its core chamber opens, and the core only burns for the share of you inside. Its Crusher Mark kills whoever stands under it alone, and its hand grabs.
View in 3D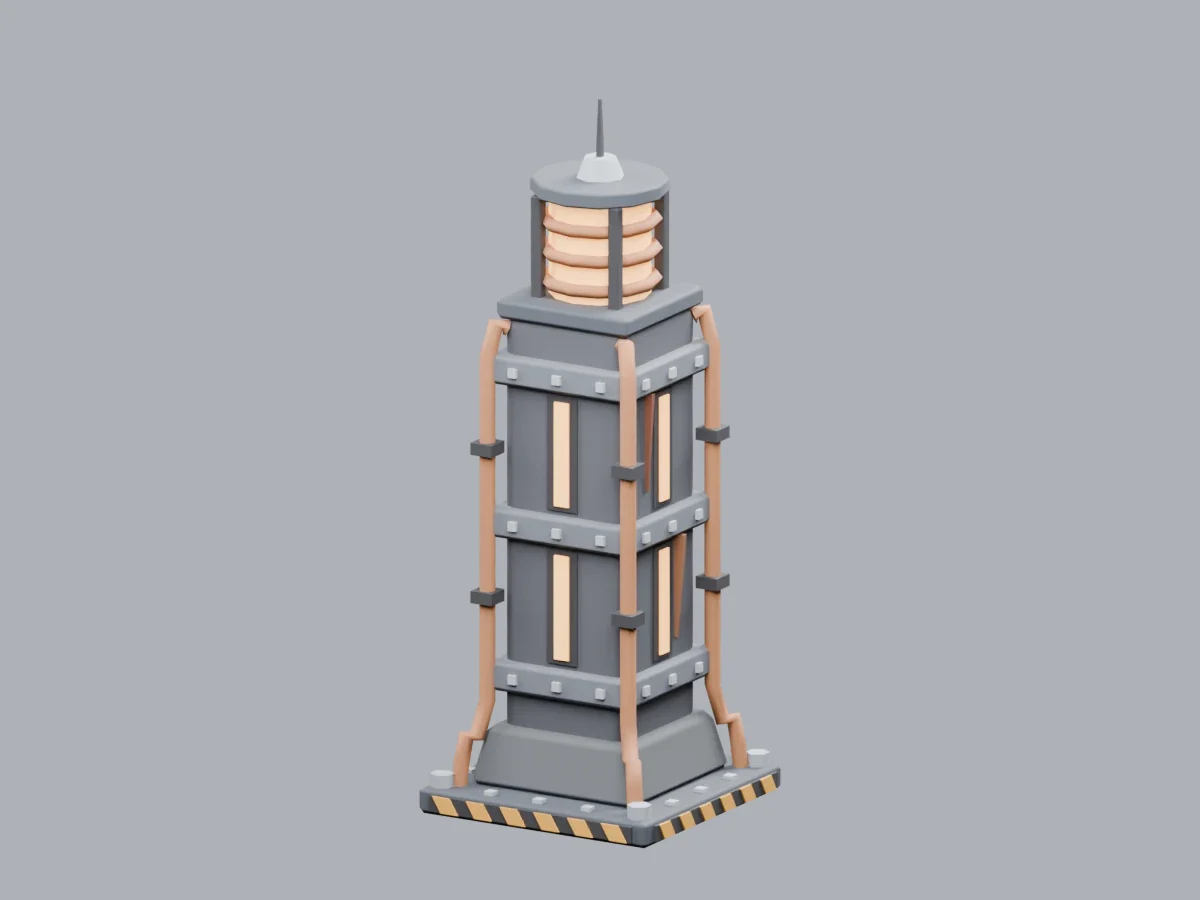
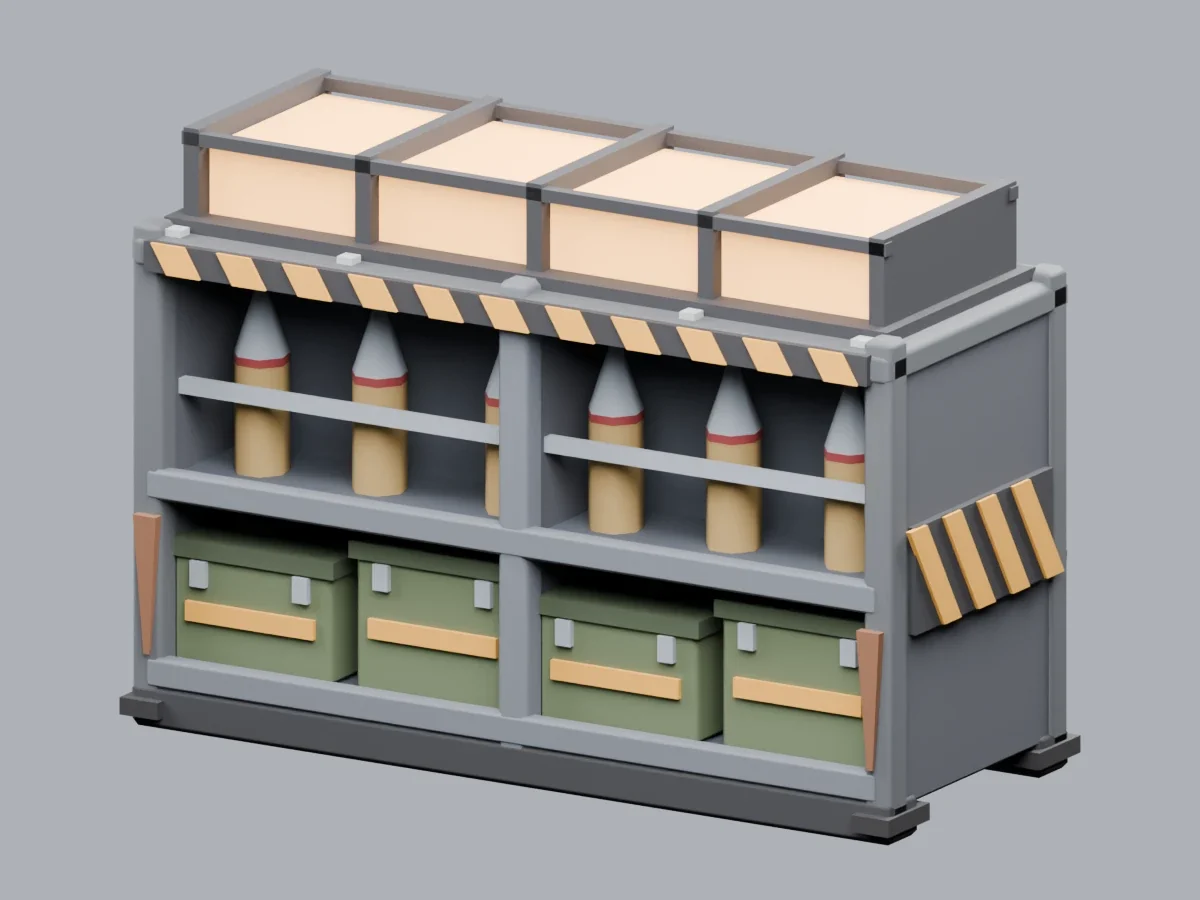
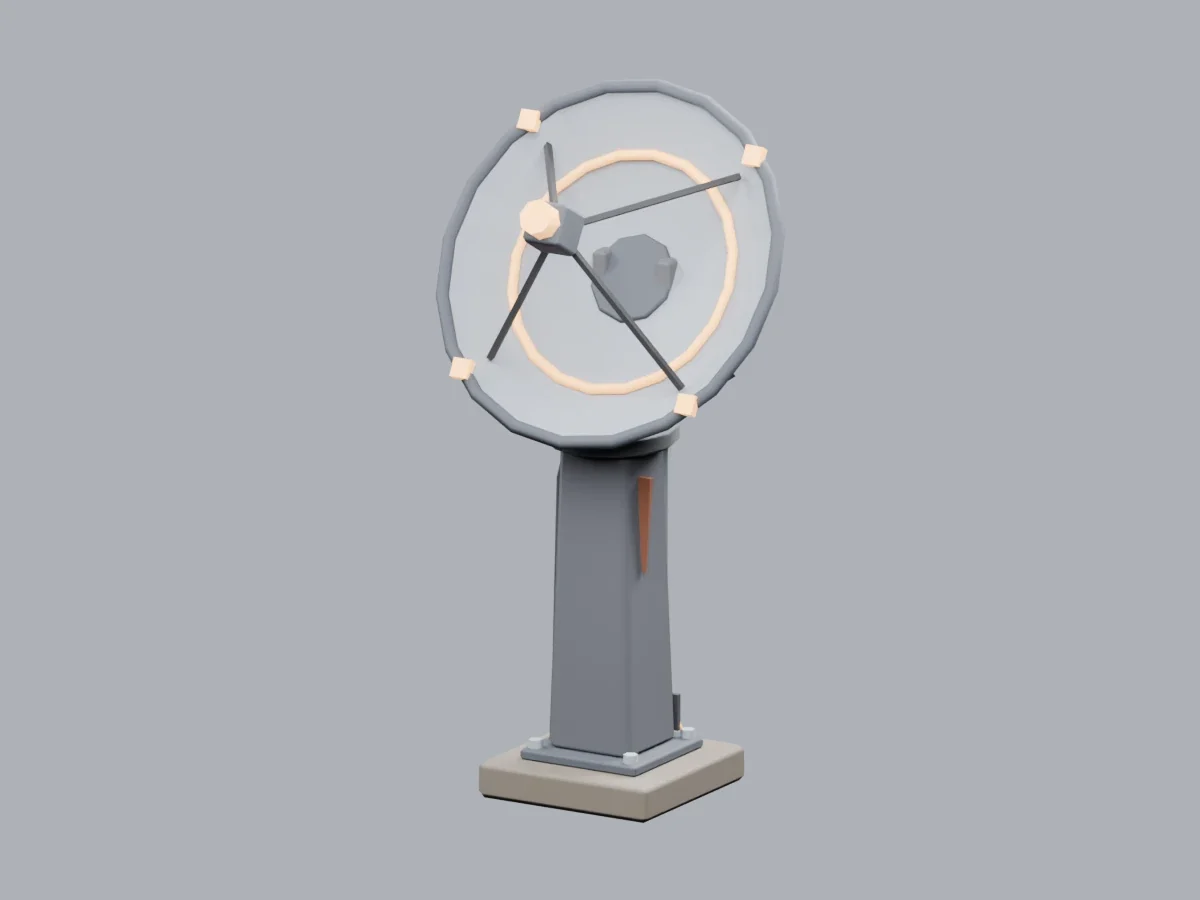
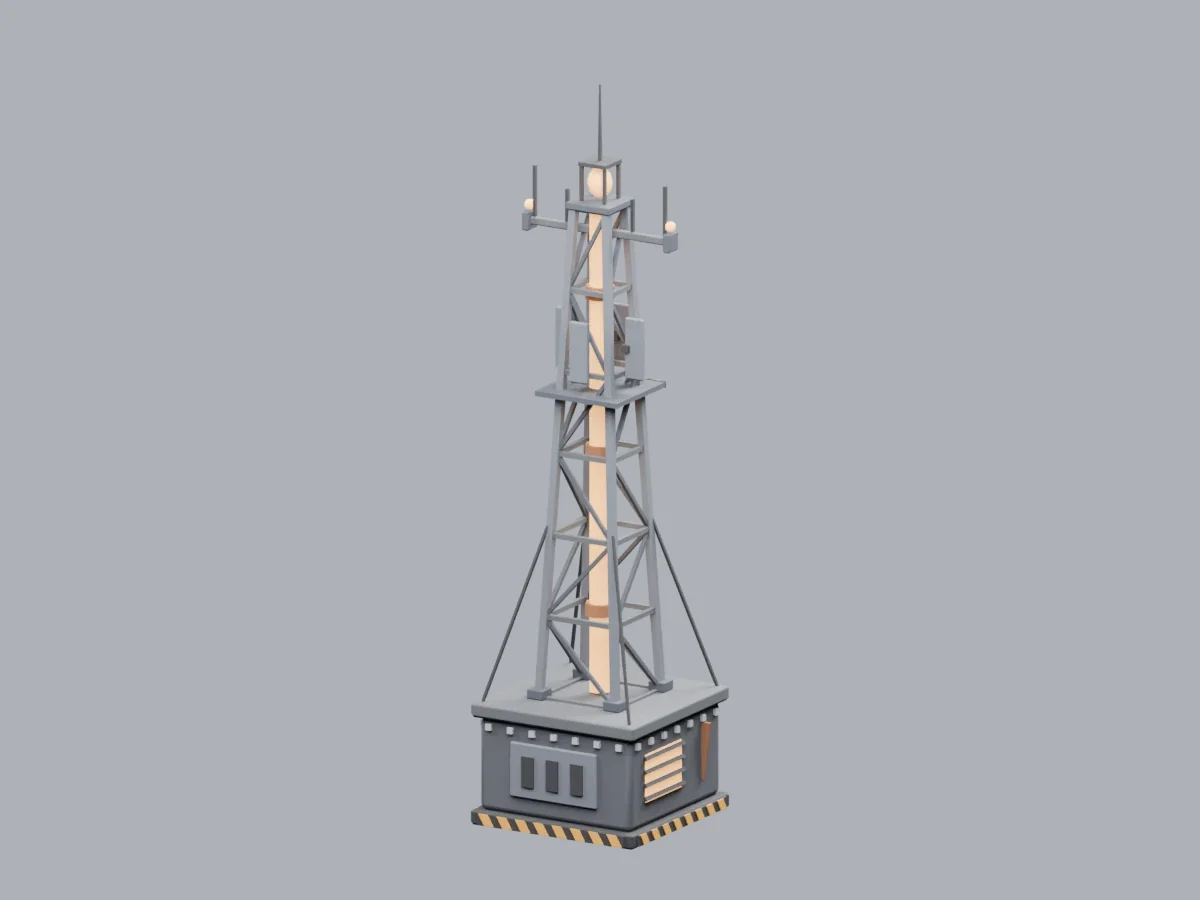
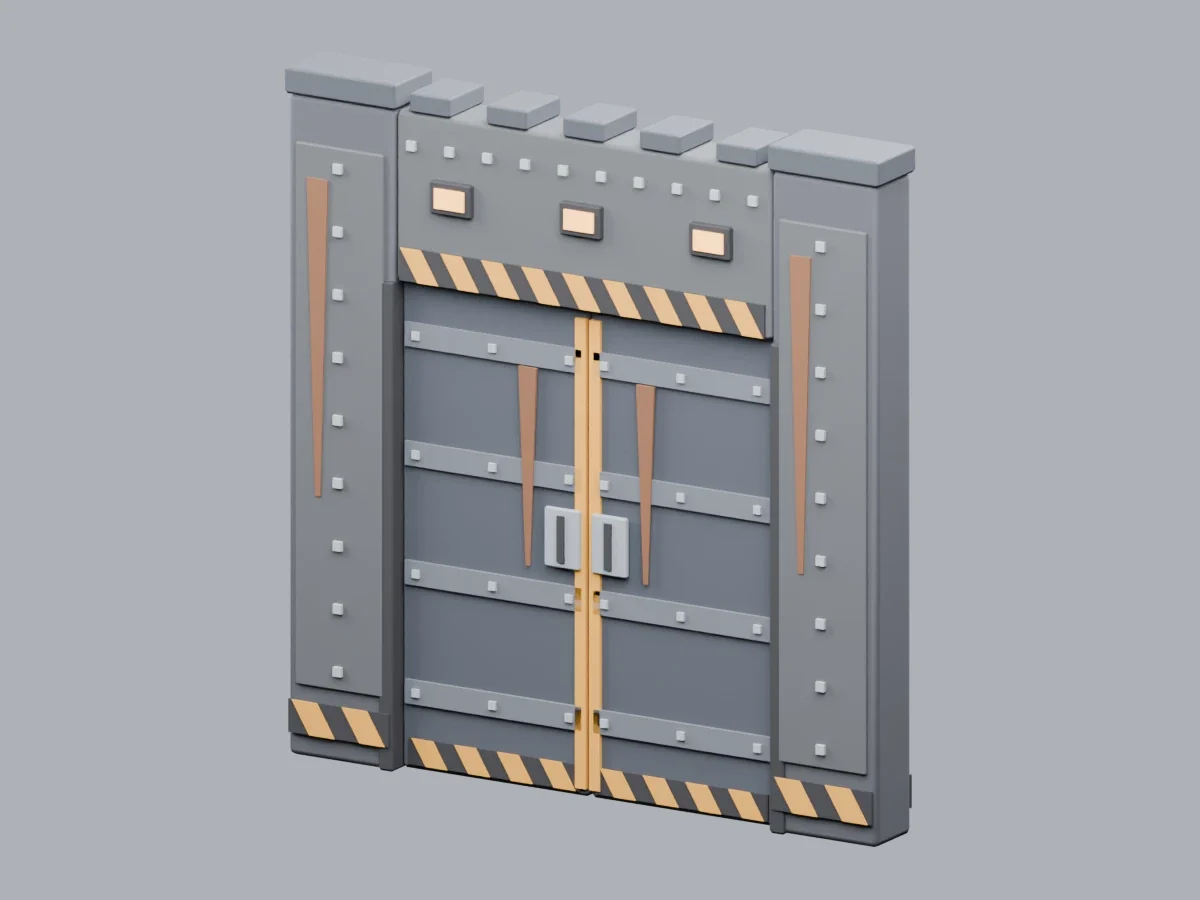
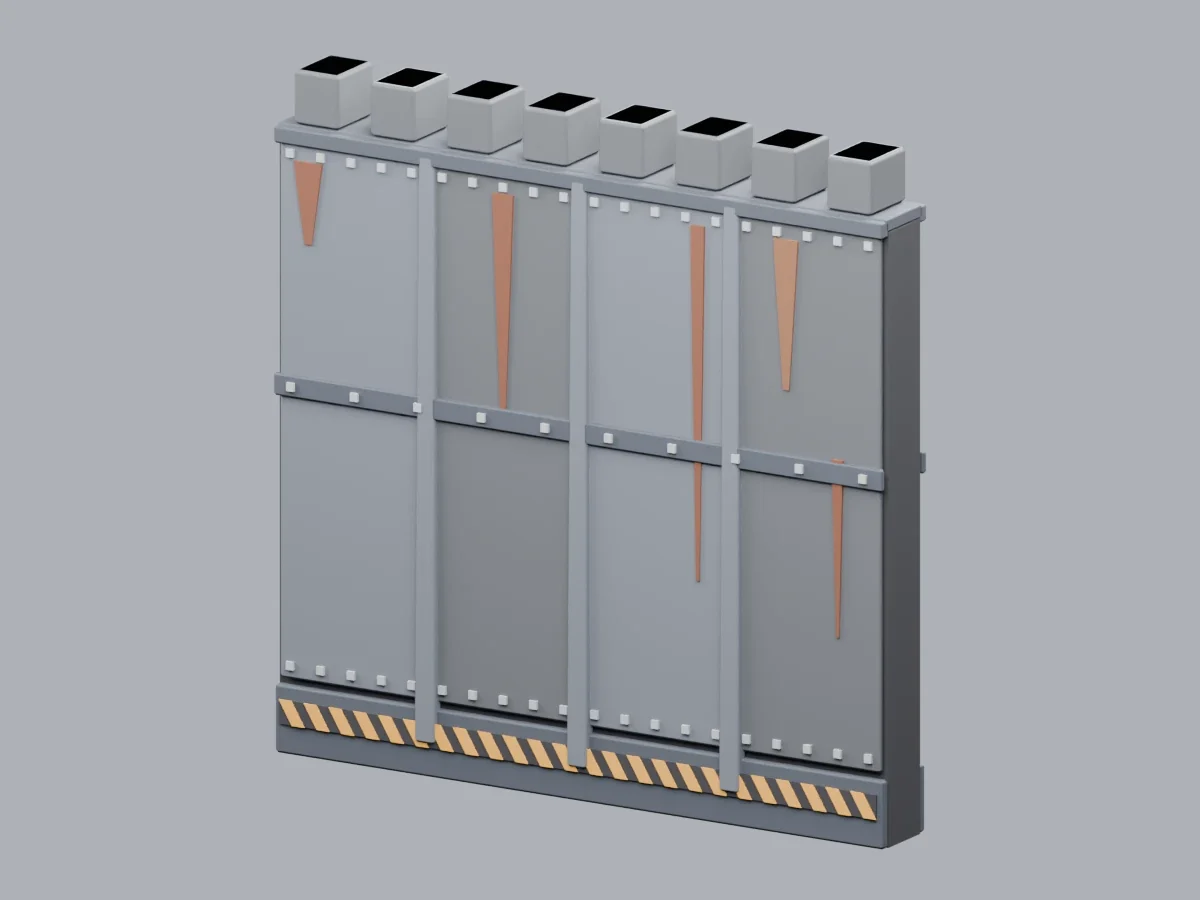
In testing
Breachwake is built for a crew, and it’s just as playable alone.
Spoils change how your Reclaimer fights for the rest of the run. There are 122 of them to find. Here are six.
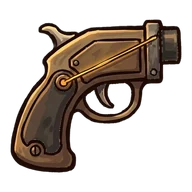
Precision
Your primary attack attacks come 15% faster.
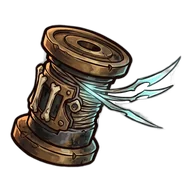
Movement
Dodging launches spectral blades toward your aim. Blades are generated hits at half trigger strength.
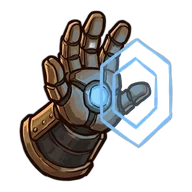
Protection
Your manual hits generate a small temporary barrier, up to a cap.
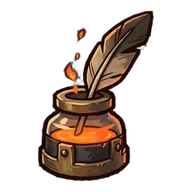
Elemental
Weapon hits build toward Burn. Burn ticks deal damage over time and never trigger other effects.
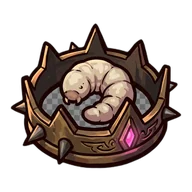
Companions
Every eighth primary attack hit hatches a brood larva that hunts the nearest enemy for 7 s. Up to 3 at once.
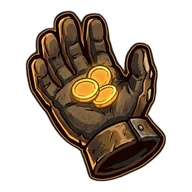
Fortune
Kills and operations pay 20% more scrip.
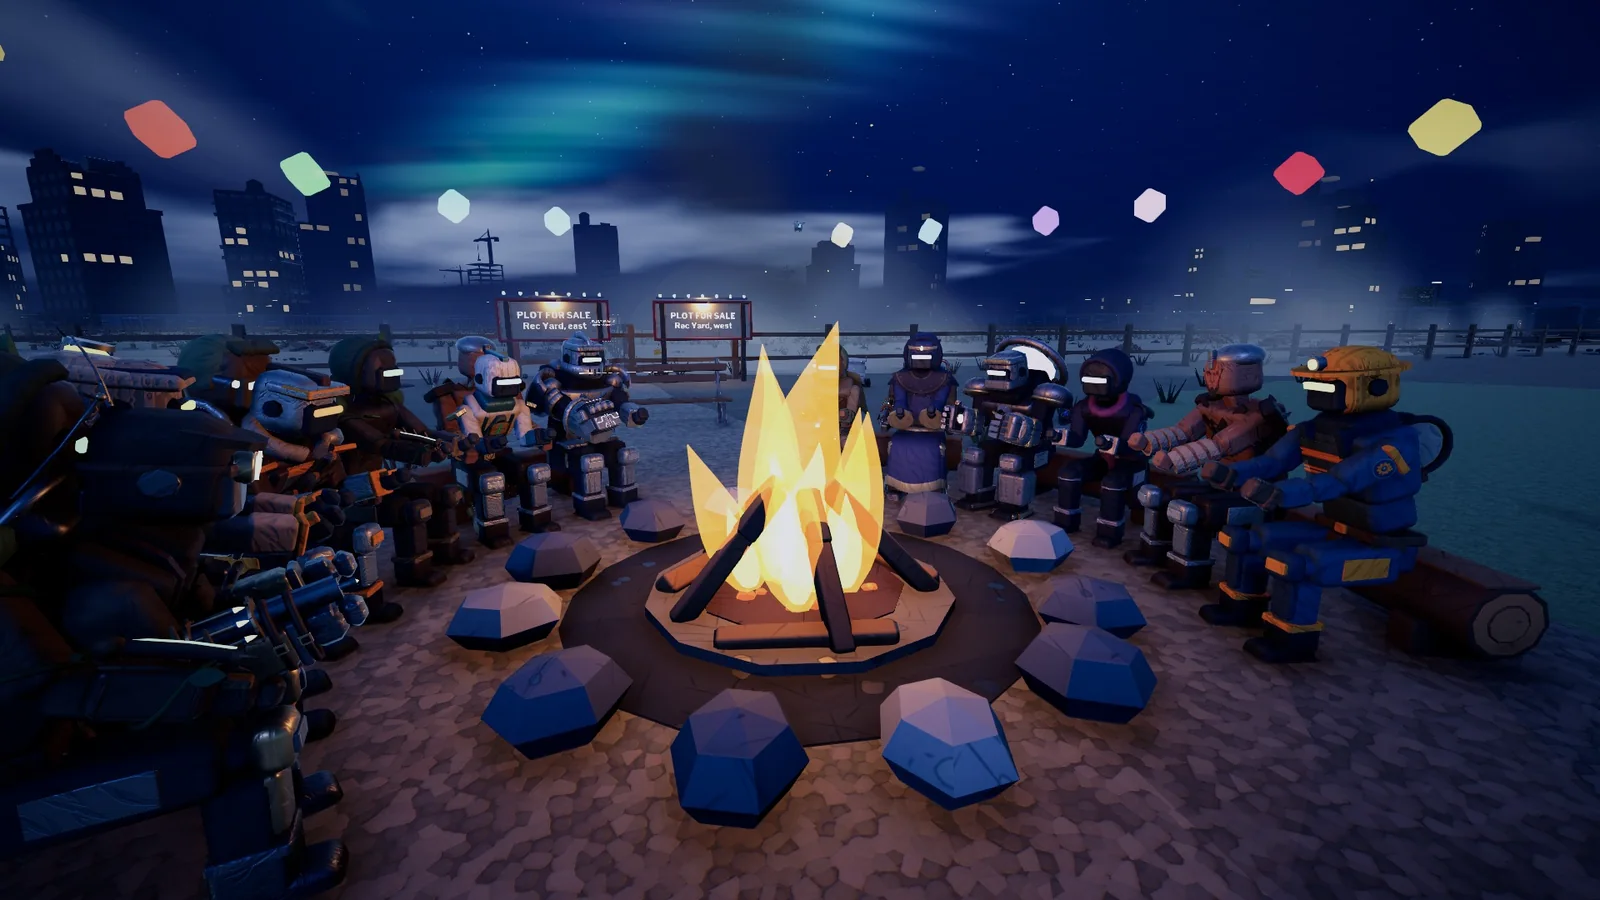
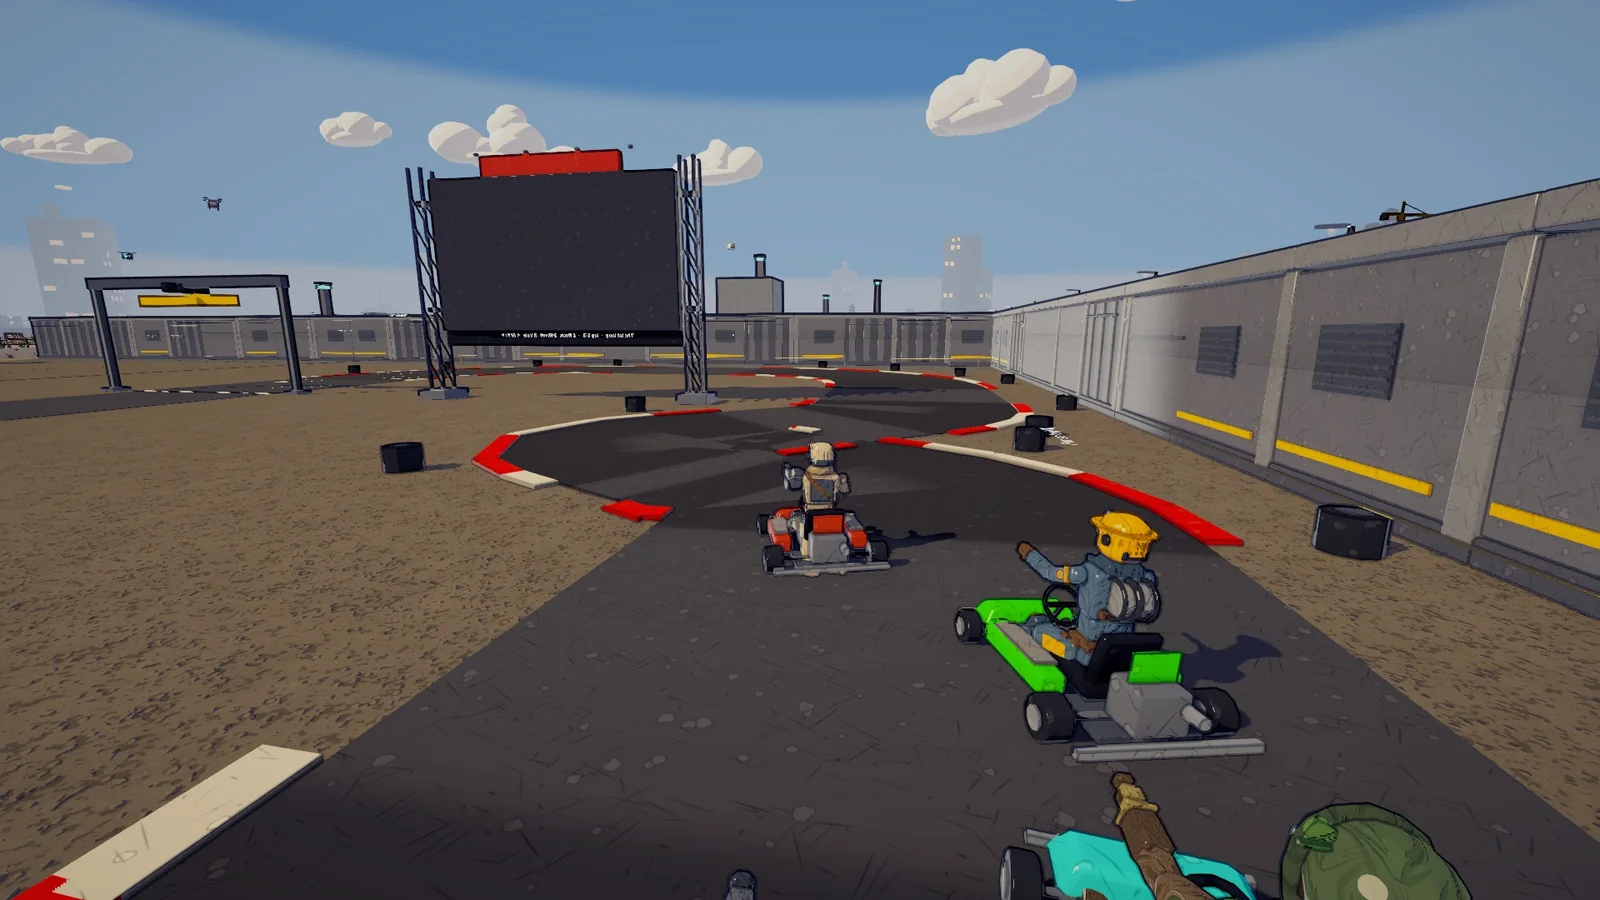
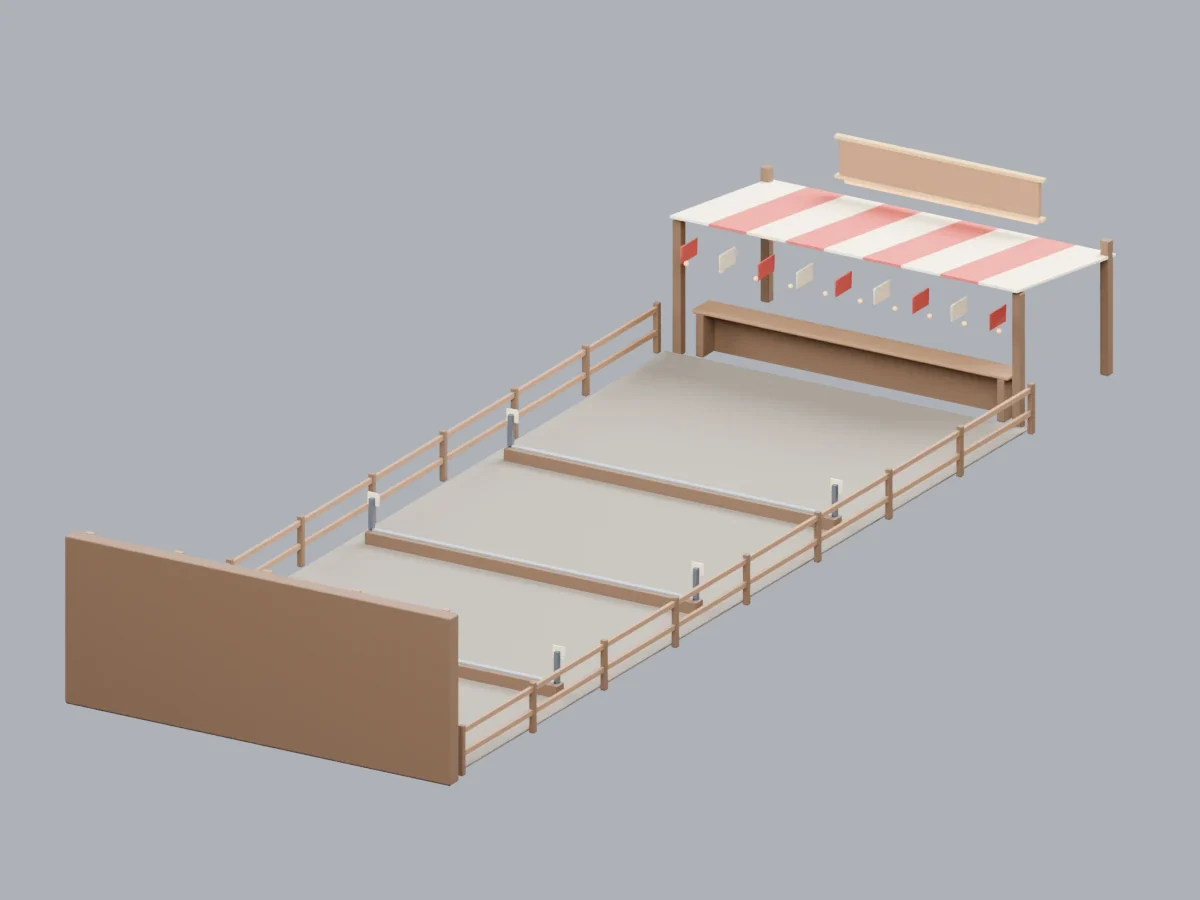
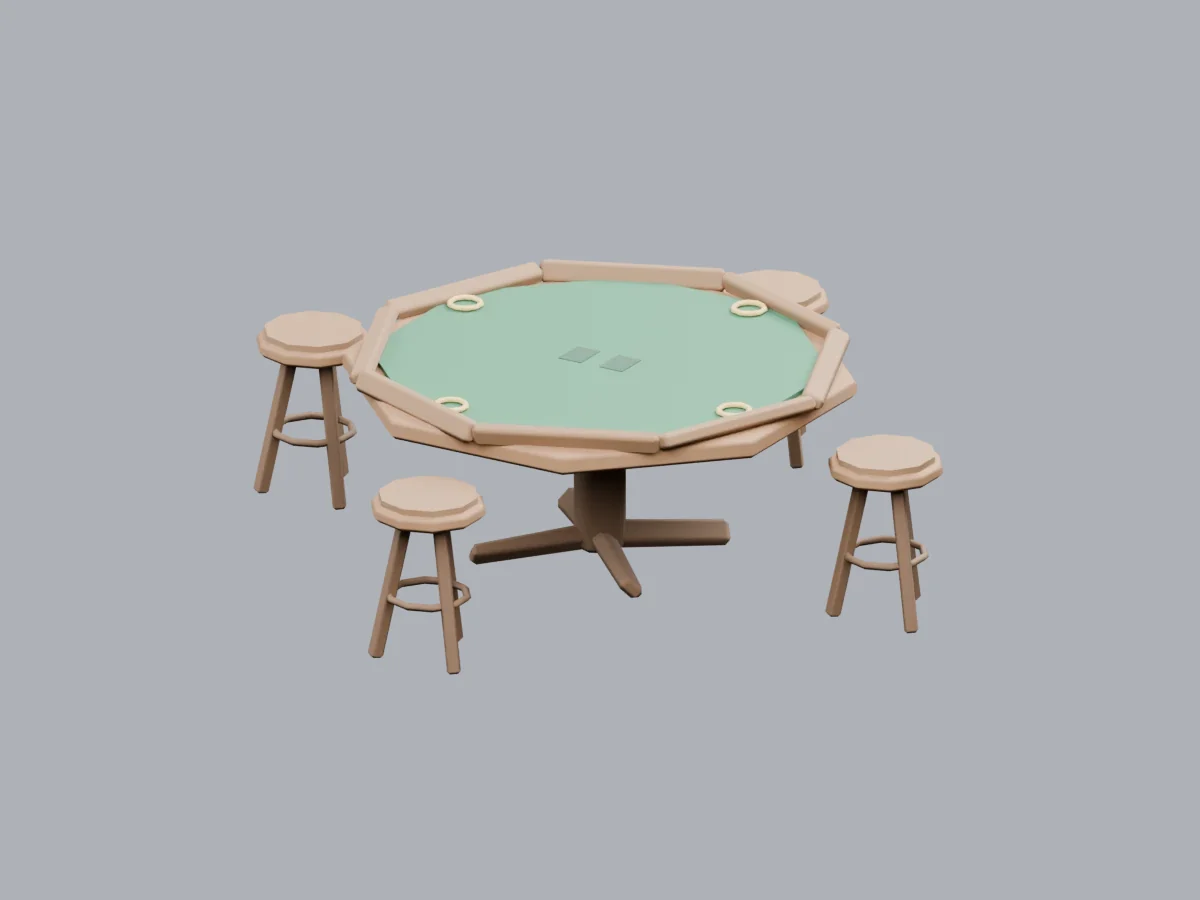
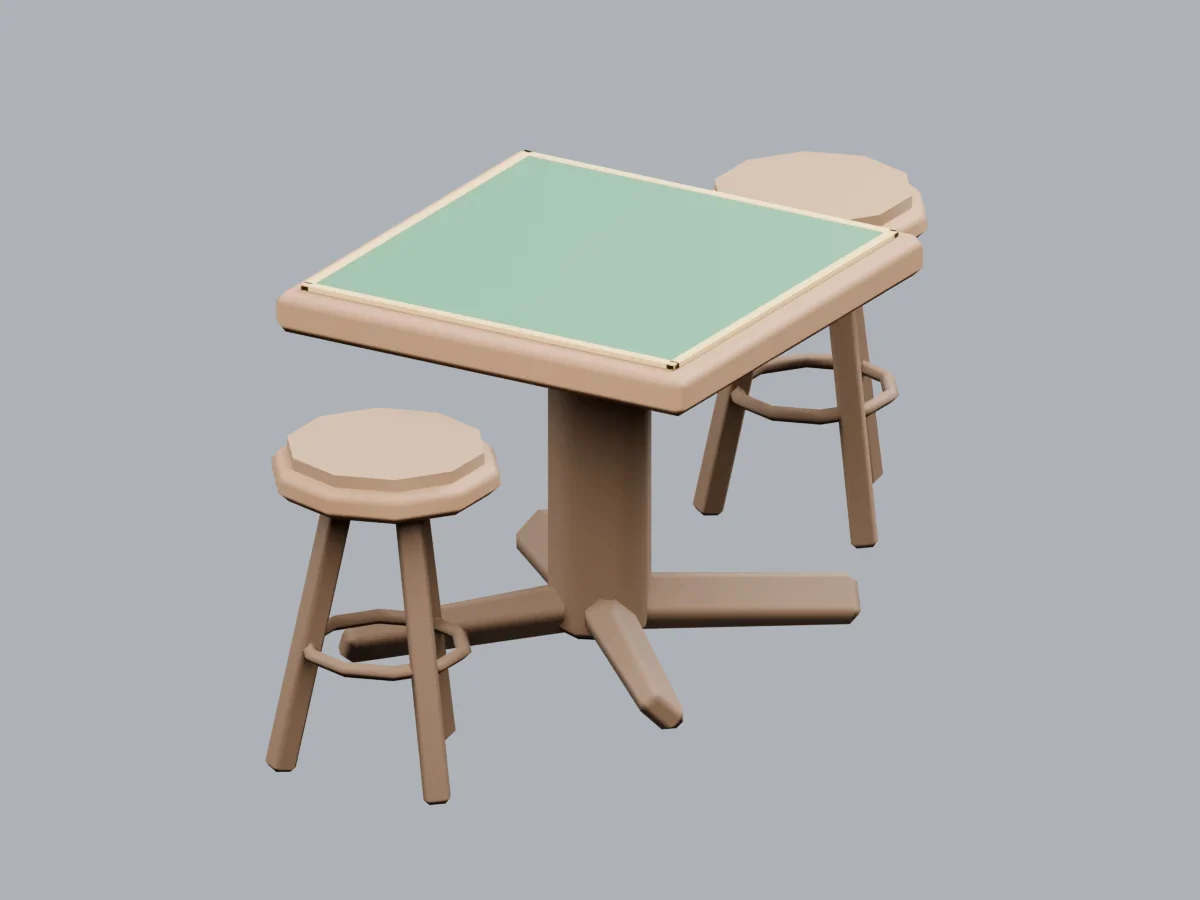
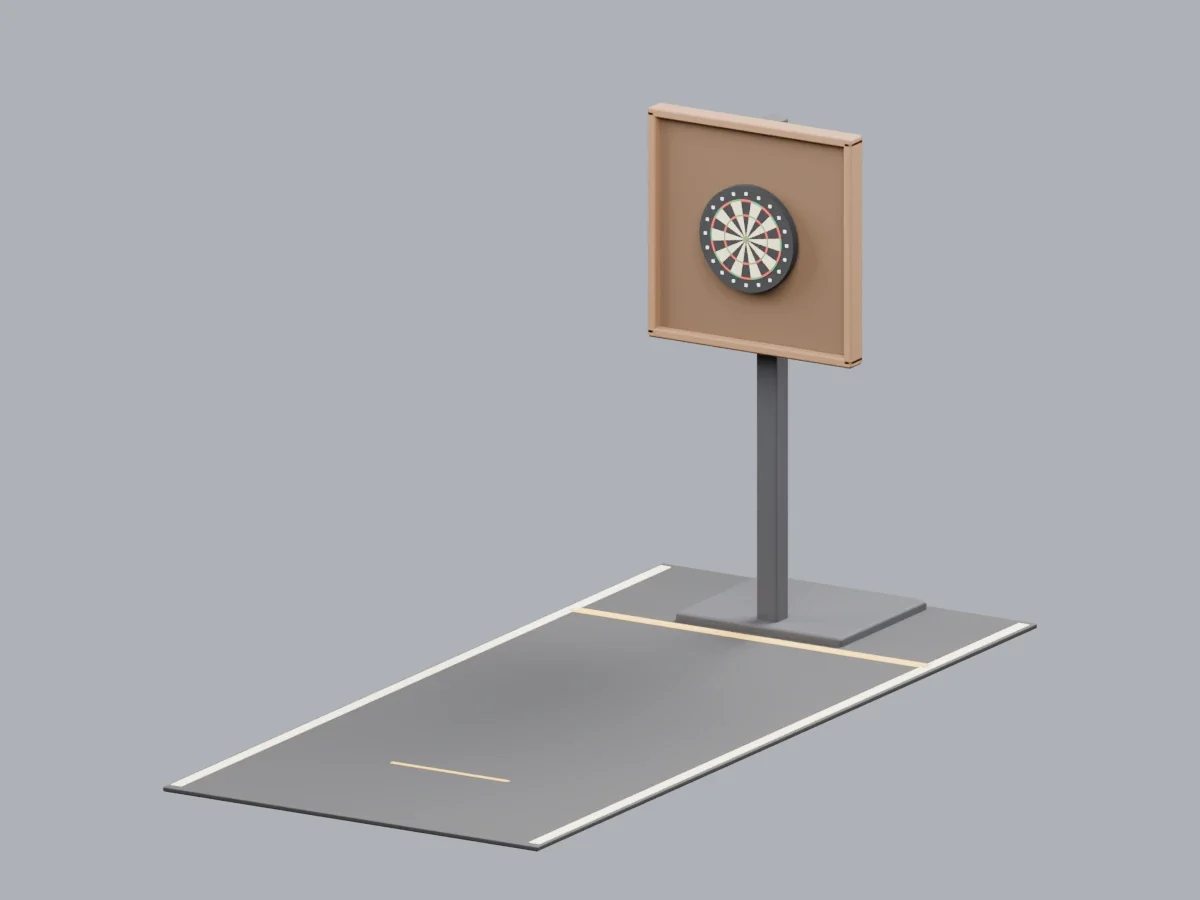
Salvage from every run builds out the crew’s hub: a kart track, a ballpark, an ice rink, a pool table, an arcade cabinet and more, 24 games in all to play against the crew.
The Quartermaster’s buy list
Breachwake is our flagship, and it’s still in development. Follow along as the next regions and Reclaimers come online.
Drag to turn · Scroll or pinch to zoom · Arrow keys to turn